Navigation Sample

Overview
The sample includes common and simple navmesh and navigation agent setups nicely separated into Unity scenes. It's an ideal entry point to start discovering what Quantum navigation offers. Be sure to have the Navigation Manual at hand as well.
The scenes have been prepared to showcase an aspect of the navigation workflow and implementation.
| Use the scene selection drop down UI next to the Unity play buttons to browse through the sample scenes. |

|
| The scenes display a short text description UI and links to game objects, assets and source code files to quickly select relevant objects. Be sure to try to click on the links in the scene or game view in Unity. |

|
Download
| Version | Release Date | Download | |
|---|---|---|---|
| 2.1.8.1 | Apr 30, 2024 | Quantum Navigation Sample 2.1.8.1 Build 371 | |
Technical Info
- Requires Unity
2021.3.8f1or higher.
Description
1) Simple 2D Navigation To Level Waypoints
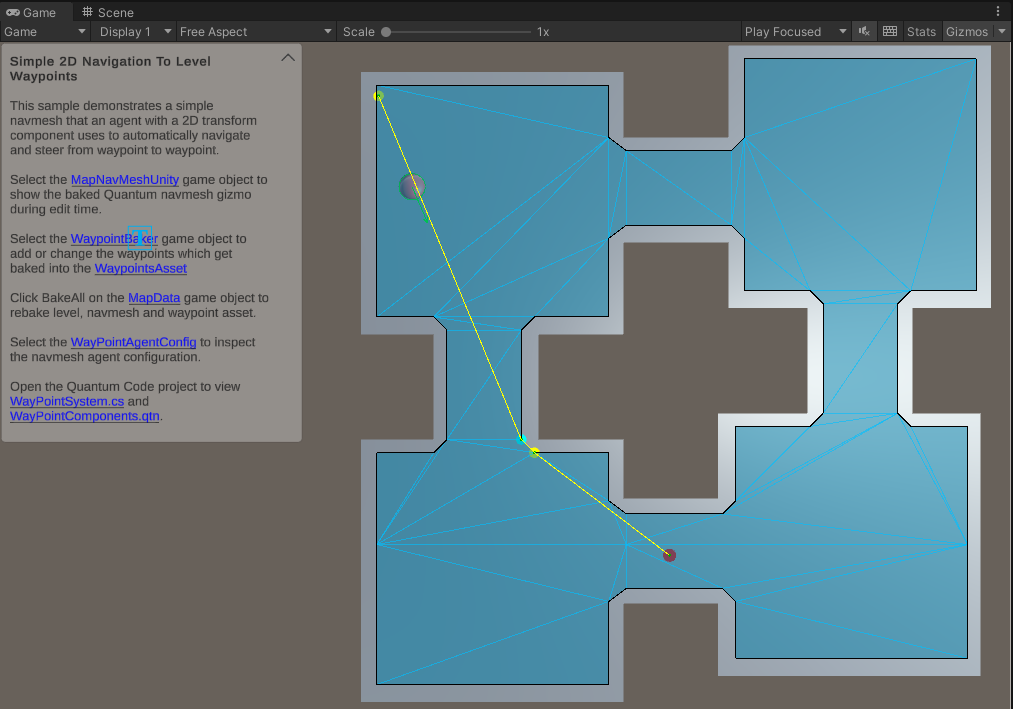
This sample demonstrates a simple navmesh that an agent with a 2D transform component uses to automatically navigate and steer from waypoint to waypoint randomly.
The agent has a reference to an asset with a fixed list of waypoints. Also, it has an index to determine the next waypoint to find. When it reaches the waypoint using the navmesh this index is increased to the next waypoint.
C#
var path = f.FindAsset<Waypoints>(wayPoints->Path.Id);
var navmesh = f.FindAsset(wayPoints->Navmesh);

wayPoints->CurrentPointIndex += 2;
wayPoints->CurrentPointIndex = wayPoints->CurrentPointIndex % path.Points.Length;
var point = path.Points[wayPoints->CurrentPointIndex];

// Randomize the next waypoint position a bit before set target

if (navmesh.FindRandomPointOnNavmesh(point, FP._2, f.RNG, *f.NavMeshRegionMask, out var result)) {
    point = result;
}
pathFinder->SetTarget(f, result, navmesh);
Open the Quantum Code project to view the complete implementation of the WayPointSystem.cs and WayPointComponents.qtn.
Is possible to change the waypoints in the WaypointBaker game object directaly in the scene to add or change the waypoints which get baked into the WaypointsAsset. Then, click BakeAll on the MapData game object to rebake level, navmesh and waypoint asset.
2) Navigation Using The Default 3D Character Controller
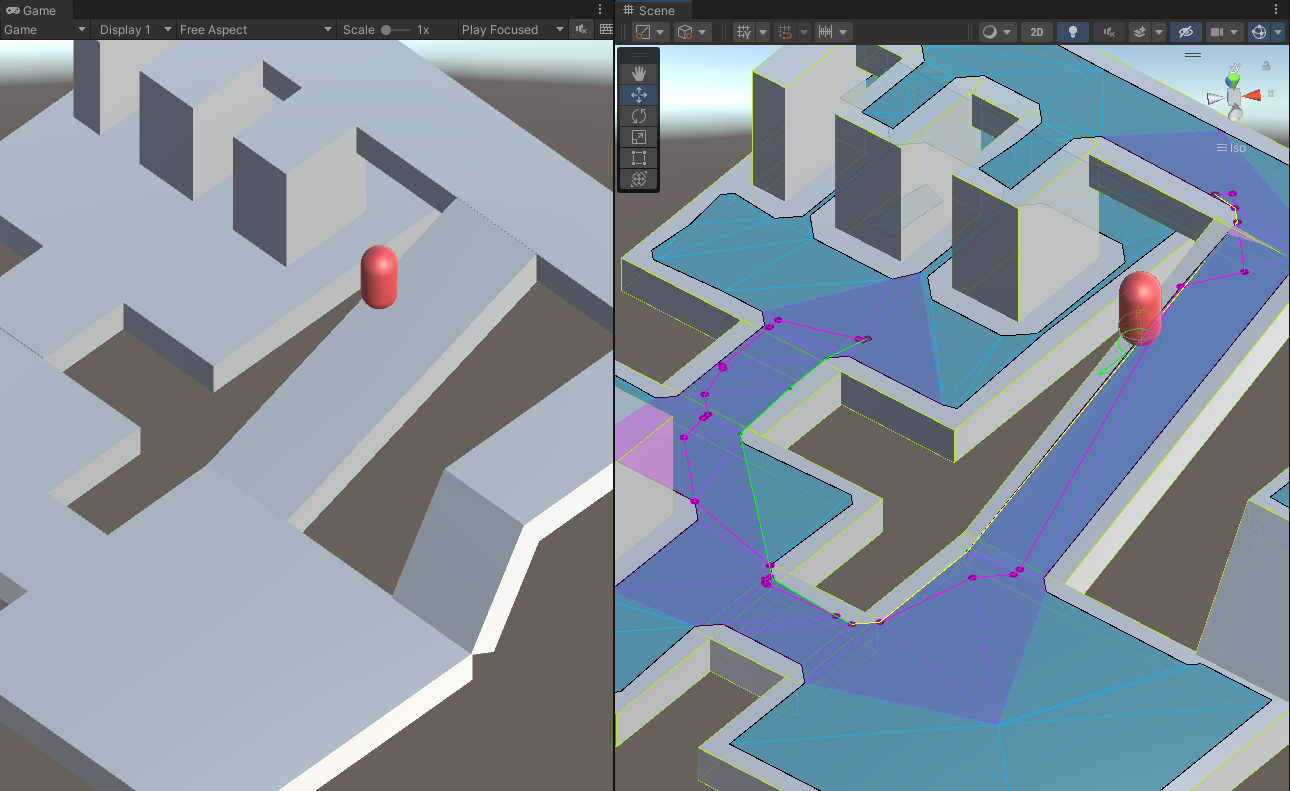
This sample demonstrates how to steer an agent using a Quantum Command sent when clicking to raycast the 3D level. The steering system uses a default character controller 3D to move the agent to a position sent by the command.
C#
var navmesh = f.Map.NavMeshes["MapNavMeshUnity"];
if (f.Unsafe.TryGetPointer(filter.EntityRef, out NavMeshPathfinder* pathFinder)) {
    pathFinder->SetTarget(f, command.ClickPosition, navmesh);
}
Open the Quantum Code project to view the complete implementation of the KCCMovementSystem.cs and KCCPlayer.qtn.
Is possible to tweak the agent movement by editing the KCCController3D config.
NOTE: Using a Quantum command for move-to controls is not a recommended way to implement a Moba-like input for example (commands only execute reliable and require a RTT to the server, see the Quantum Moba sample for more information).
This sample will create additional avatars when started using the OnlineMenu. The Quantum entity prototype is set in the UserData of the map in MapNameInfo.
3) Navigation Using A Custom Steering Callback
This sample shows how to override the default navmesh agent steering logic while keeping the pathfinding and the internal waypoint detection logic.
NOTE: See Using Navmesh Agent Callbacks to know more about.
This is the recommended way when the character movement and steering requires game-specific characteristics that cannot be configured with the default navigation steering parameters. For this the MovementType of the agent config is set to Callback inside the CallbackMovementAgentConfig.
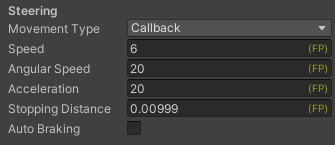
The custom steering logic uses the default character controller backed by the CallBackMovementKCC config to move and bounce towards the target. Open the CallBackMovementSystem.cs system for more details.
4) Navmesh Links
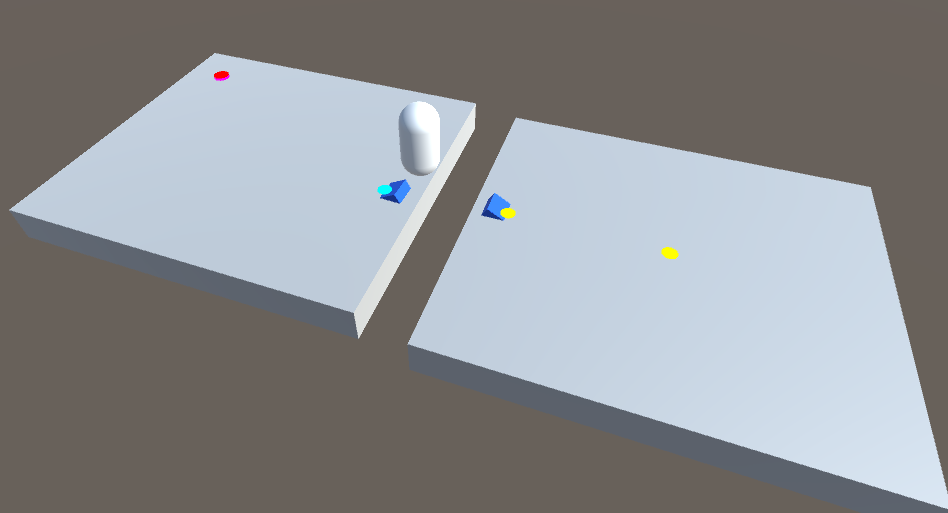
This sample demonstrate how to uses a navmesh link to connect two parts of one navmesh and the agent can jump a abism. It is possible to know when a link starts using the WaypointFlag in the OnNavMeshWaypointReached callback. The JumpOffSystem.cs will register when agents approach the link and then triggers the jumping "animation".
C#
if (waypointFlags.HasFlag(Navigation.WaypointFlag.LinkStart)) {

    if (f.Unsafe.TryGetPointer<NavMeshPathfinder>(entity, out var pathfinder) &&
        f.Unsafe.TryGetPointer<CharacterController3D>(entity, out var character)) {

            var linkTargetDirection = (pathfinder->GetWaypoint(f, pathfinder->WaypointIndex + 1) - waypoint).Normalized;
            character->Velocity = linkTargetDirection * character->Velocity.Magnitude;
            character->Jump(f);
    }
}
NOTE: See Using Navmesh Off Mesh Links to know more about.
The Quantum navmesh baking will convert Unity OffMeshLinks placed in the Unity scene into Quantum navmesh links (see OffMesh game object in the scene).
5) Toggle Navmesh Regions Dynamically
This sample demonstrate how to toggle navmesh regions to eneable bridges in the level. Click on the green buttons during play mode to dynamically toggle navmesh regions on and off.
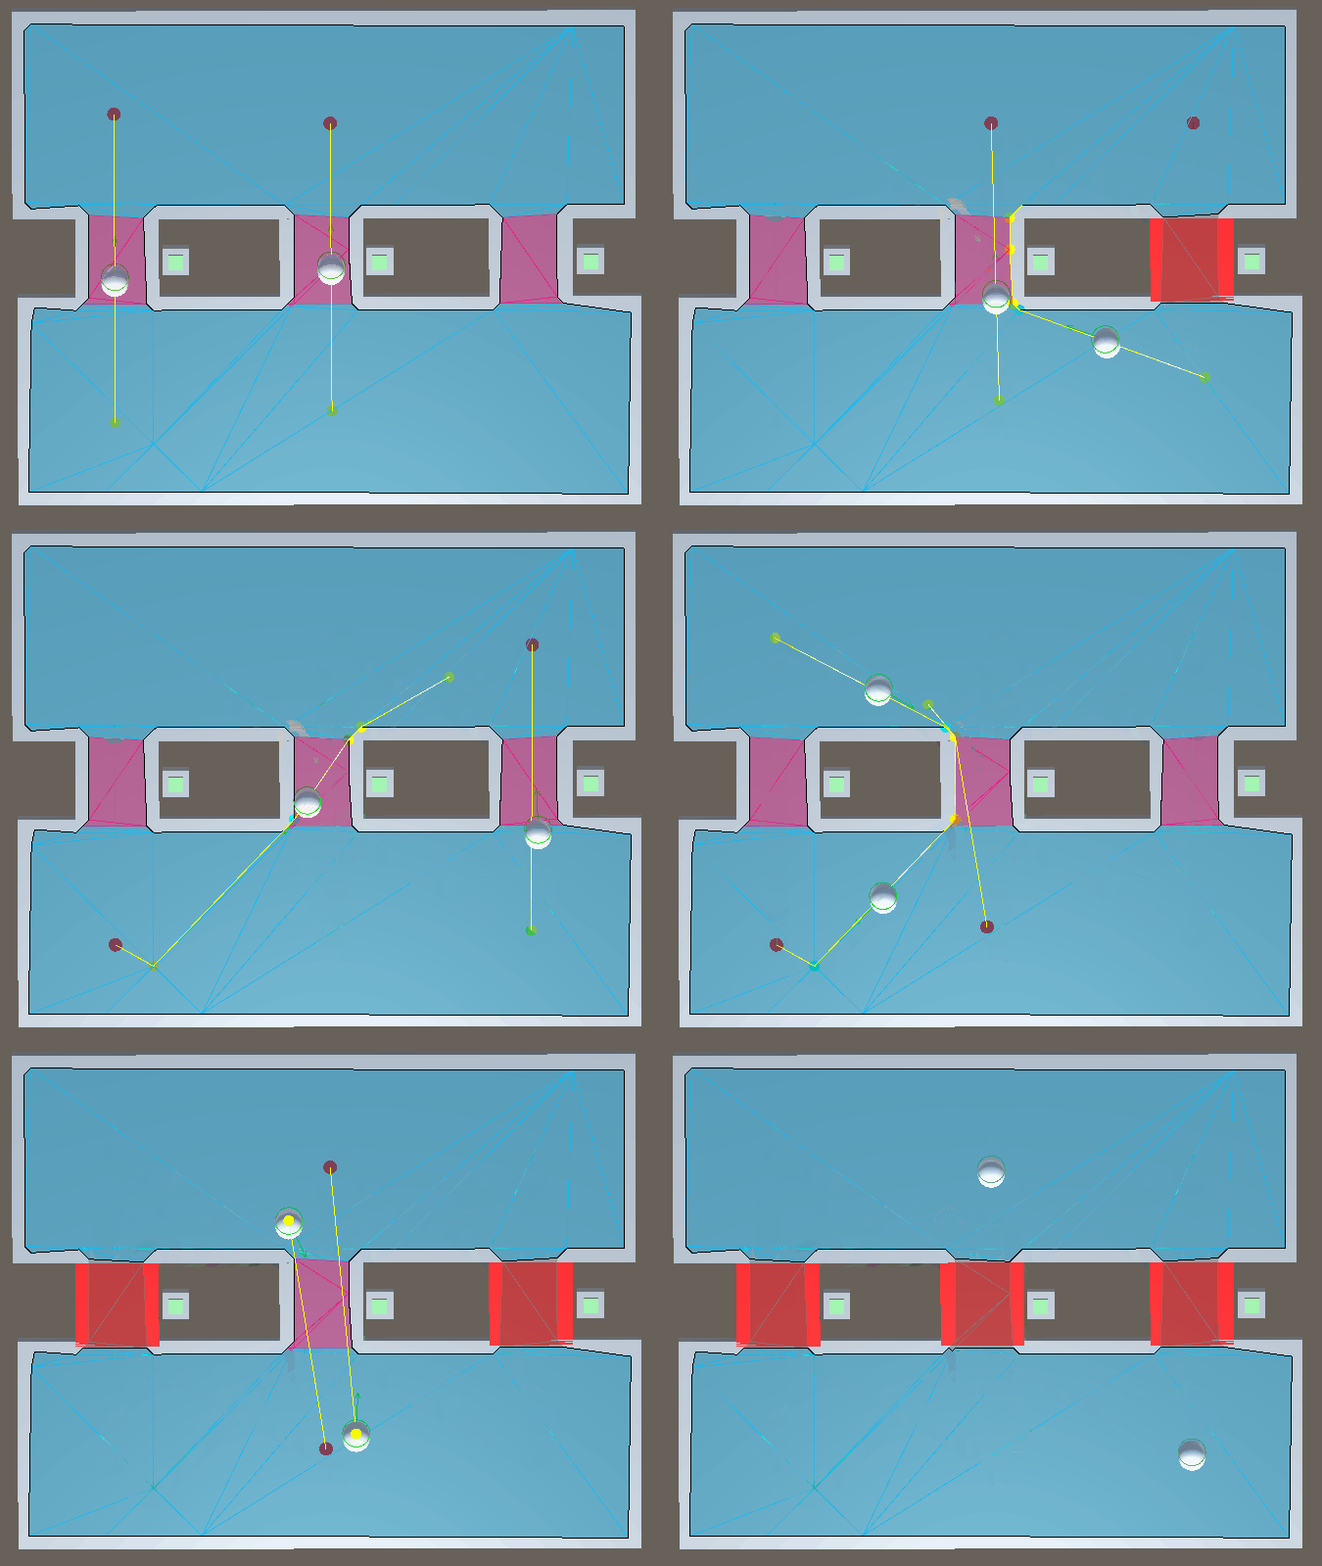
A Quantum Command is fired to enabled and disable parts of the navmesh during runtime (see the ButtonFirst game object in the game scene). The command sends the Name of the region and the simulation will toggle its value.
C#
 var region = f.Map.RegionMap[Name];

// Enable or disable the navmesh region based on region name

f.NavMeshRegionMask->ToggleRegion(region, !f.NavMeshRegionMask->IsRegionEnabled(region));
f.Events.SetupButtonState(Name, f.NavMeshRegionMask->IsRegionEnabled(region));

// Sends a signal to agents repath

f.Signals.OnRegionChanged();
Navmesh regions are baked into the navmesh. During play mode open the scene view to see the nvamesh regions colored in a different color and greyed out when disabled. Make sure to enable the Draw Nav Mesh in the EditorSettings.
NOTE: See Using Navmesh Off Mesh Links to know more about.
The MapNavMeshRegion.cs script is used to mark areas as Quantum regions and select a region name (see the FirstRegion game object).