Quantum 101 - Getting Started
Overview
Quantum 101 explains the initial steps required to setup a Quantum project.
Step 0 - Create an Account
Before starting anything else, create an account with Photon HERE.
Step 1 - Download SDK
To start using Quantum, you will need to download the latest SDK from the SDK & Release Notes page.
The requirements to run the SDK are:
- Minimum Unity 2018.4.0
- Visual Studio 2017, JetBrains Rider
- Microsoft Windows 10 or Mac OS X
- C# 7.3 and .Net 4.6.2
NOTE: Only final (f) version and the latest nightly release candidates (RCxN) are available to download.
Step 2 - Open the Quantum Project
Quantum is a game engine and not just an SDK that you add to an existing Unity project. The SDK download comes with everything you need to get started in Quantum including an already set up Unity project. After you have downloaded the SDK extract the zip file. Inside the extracted folder you will find multiple files and folders.
quantum_unityis a Unity project. Use this project as a basis for your Quantum game. Don't create a new Unity project.quantum_codecontains a standalone c# project. This project contains all the deterministic gameplay code of a Quantum game. This is explained in more detail at a later point.assembliescontains the Quantum dll files. This folder should only be touched when upgrading the Quantum dll files to a newer version.tools- contains tools that are used by the Quantum SDK. They are not relevant for the scope of this series.upgradescontains files and instructions for updating Quantum.PhotonQuantum-Documentation.chmis a local copy of the Quantum API documentation. Open it to display the documentation. Alternatively you can find the API documentation on the website.

NOTE: If you want to rename the Unity project to make it easier to find it in your Unity projects list, follow the steps here.
After unzipping the project, open the Unity Hub and add the Quantum project. To do this, click on the Add button and select the quantum-unity folder in the file system prompt. After that open click on the project in the project list to open it with Unity.
Step 3 Create and Link a Quantum AppID
To be able to run your Quantum application online and not just for local offline development, you need to link it to an App running with a Quantum Plugin. For this you simply go to your Dashboard and hit the Create button in the bottom left corner.

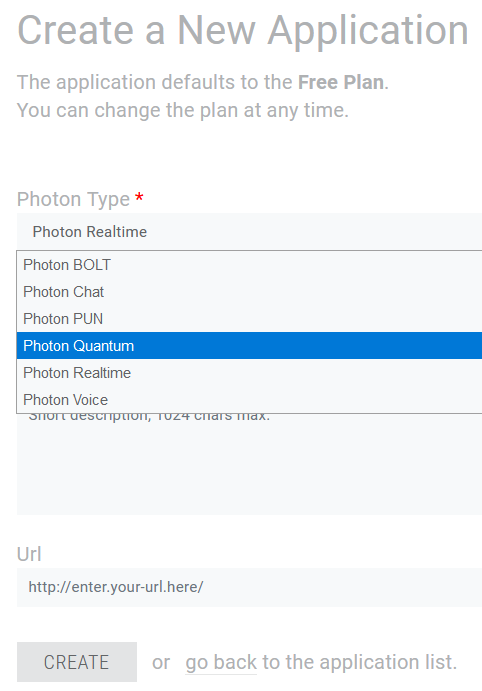
In the creation menu, select Photon Quantum in the drop-down menu called Photon Type. Fill out the other fields and hit create.

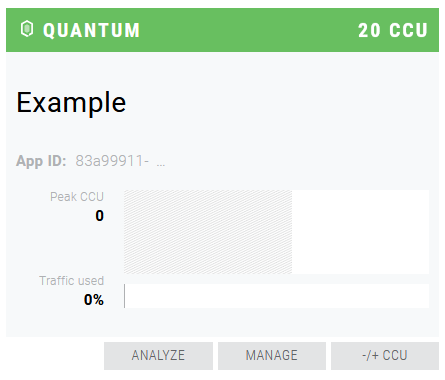
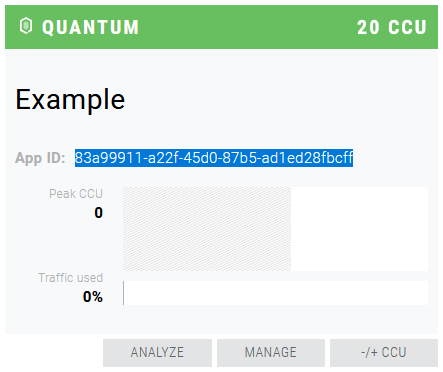
The new Quantum App will now appear in your dashboard. In order to connect your application, you will need to copy the App ID of the App. Clicking on the field will reveal your unique App ID and allow you to copy it.


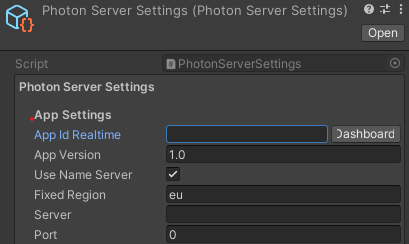
The final step is to paste your App ID into the App Settings > App Id Realtime of the Resources/PhotonServerSettings asset in your Unity project. Ensure the Port is set to 0 and your project is ready to run online.

Congratulations! The project is now ready for development.
Back to top