프로젝트 설정
패키지 가져오기
유니티 에셋 스토어 패키지 가져오기 과정에서 발생하는 일반적인 문제를 해결하기 위해 다음 단계별 가이드를 따라주세요.
- 새로운 Unity 3D 프로젝트를 만듭니다. Unity 2022.3.11f1을 사용하는 것을 권장합니다.
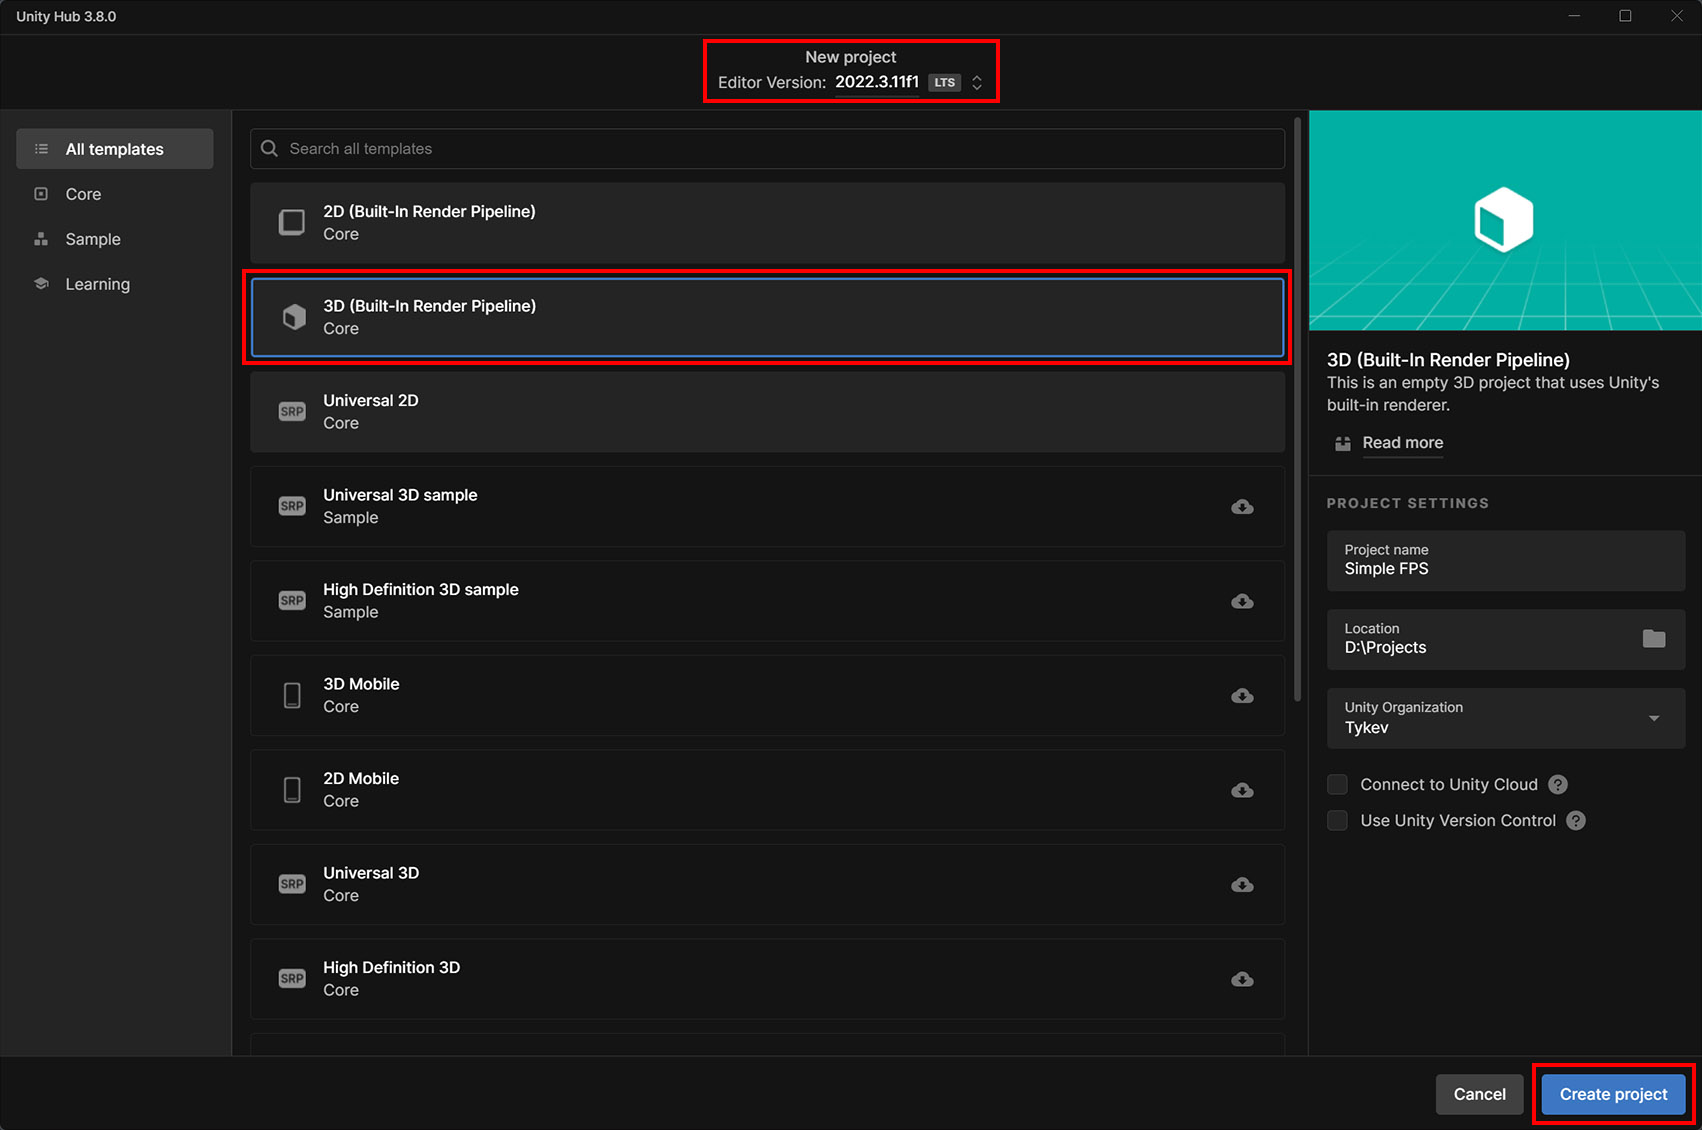
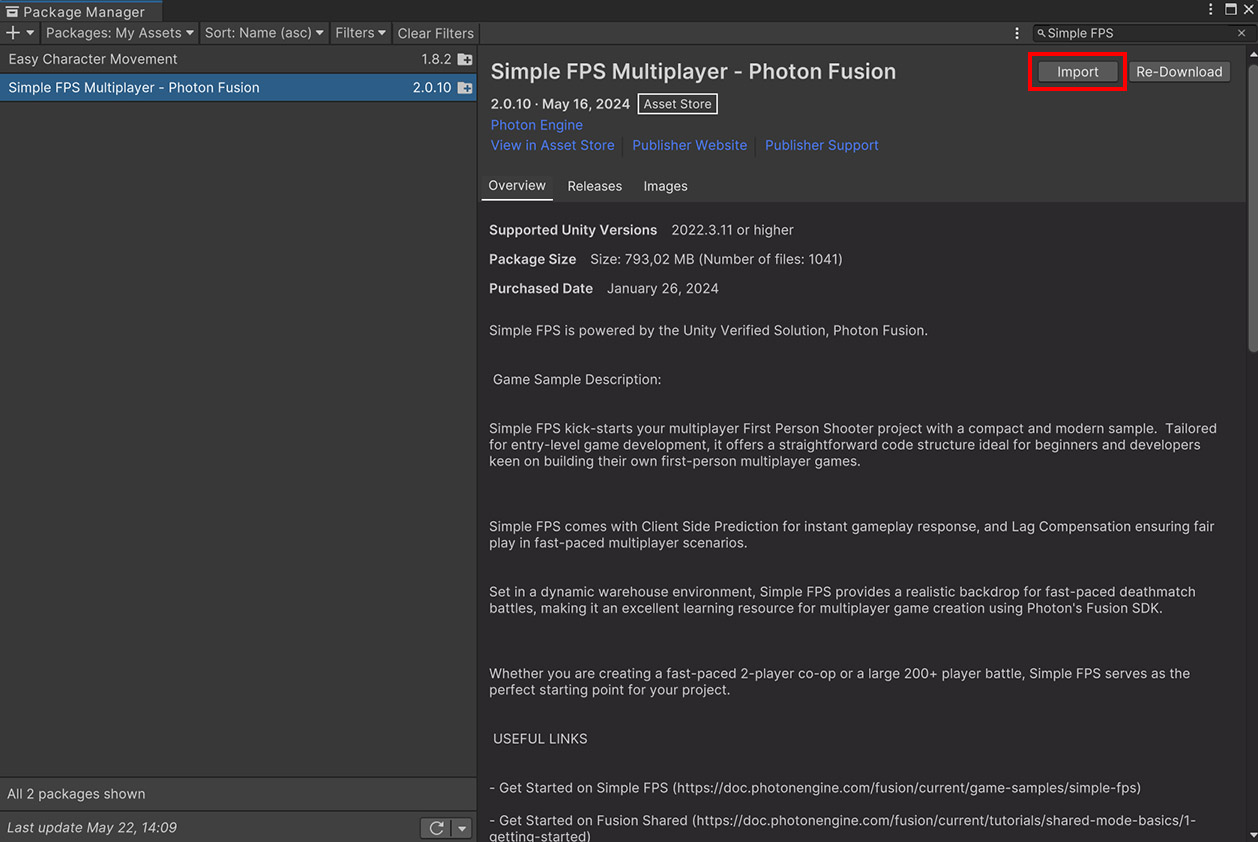
- 패키지 관리자를 열고 Simple FPS 패키지를 가져옵니다.
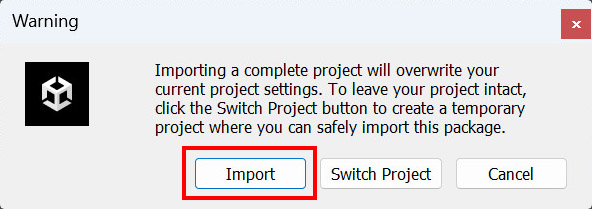
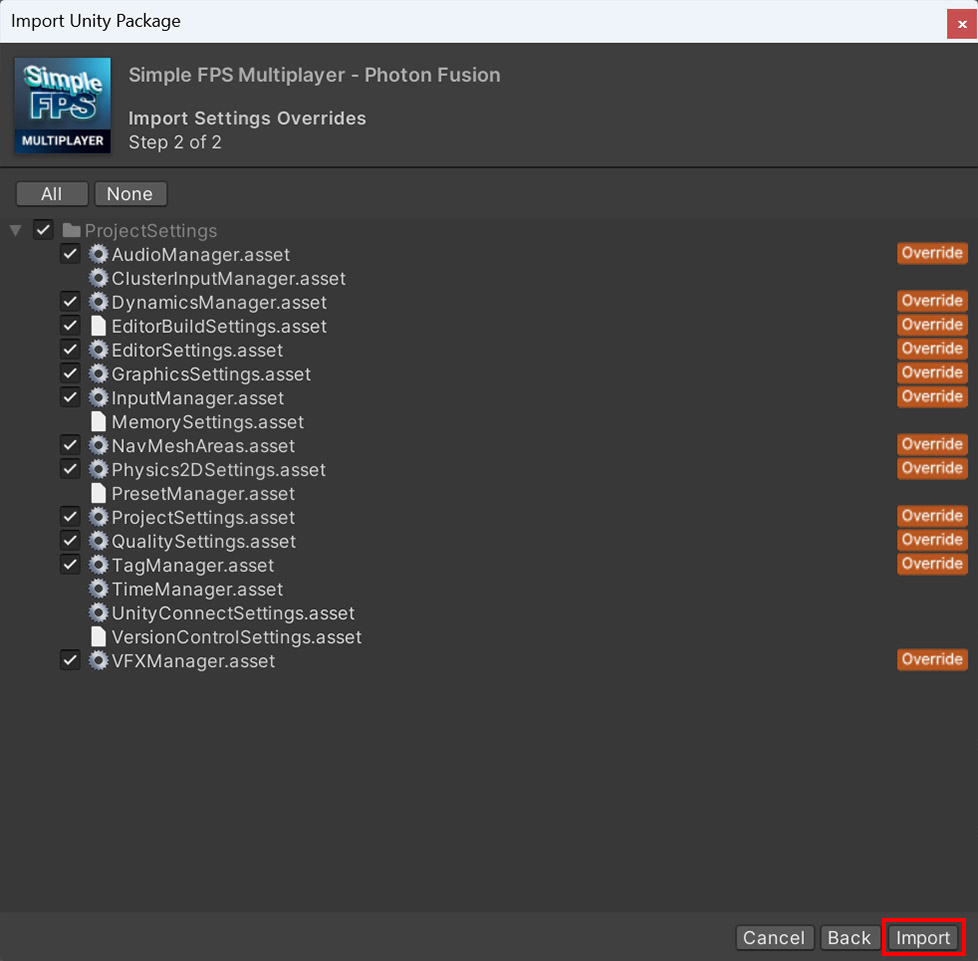
- 프로젝트 설정 덮어쓰기 경고가 발생하면 가져오기를 선택합니다.
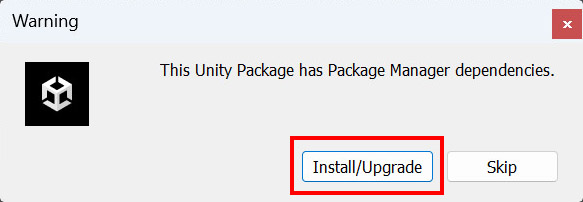
- 패키지 종속성 경고가 뜨면 설치/업그레이드를 선택합니다.
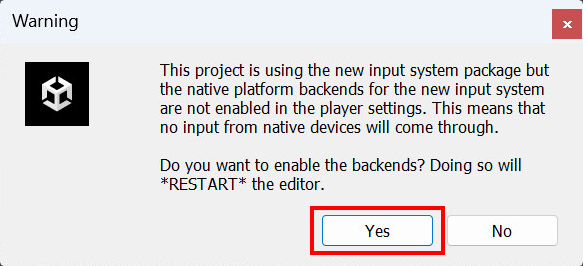
- 이 샘플은 새로운 입력 시스템 패키지를 사용하므로 유니티 편집기를 재시작해야 합니다. 예를 선택합니다.
- Unity Editor가 자동으로 재시작됩니다. 하지만 가져오기 과정이 계속되지 않으므로 2, 3, 4 단계를 반복해주세요. 이번에는 Unity Editor를 다시 시작할 필요가 없습니다.
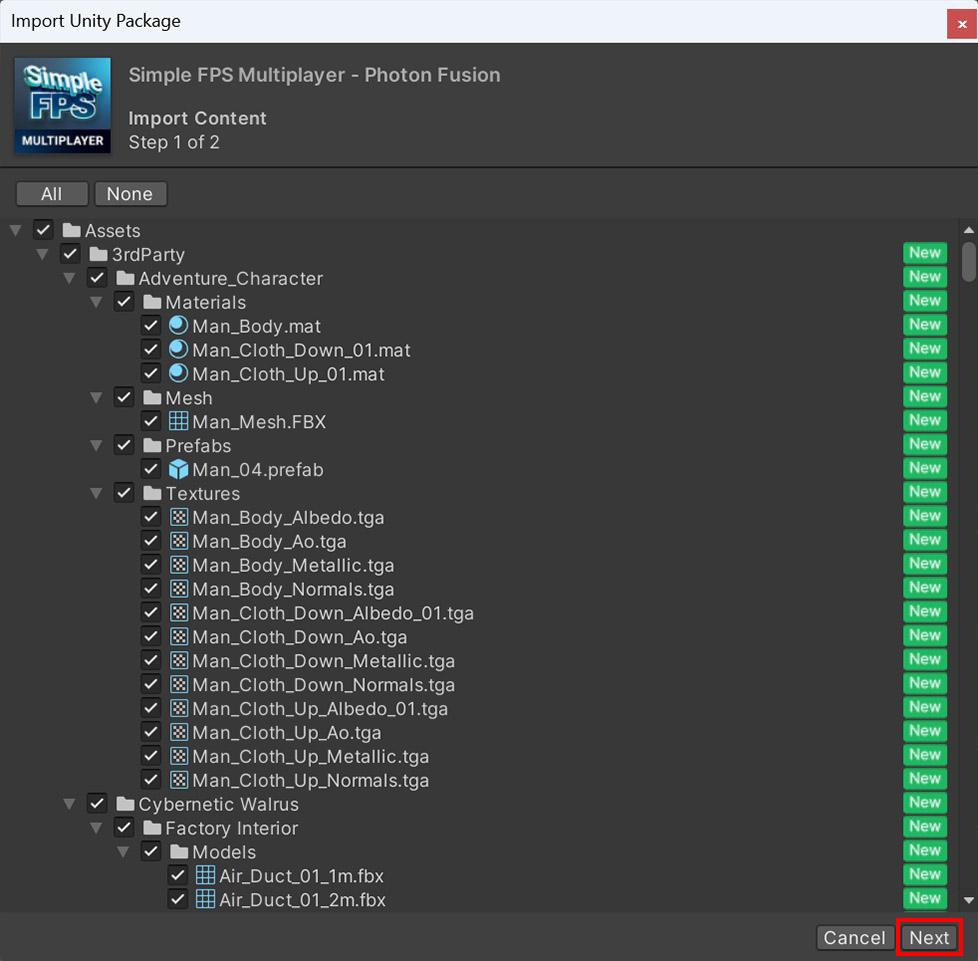
- Unity 패키지 가져오기 (1단계)에서 다음을 선택합니다.
- 유니티 패키지 가져오기 (2단계)에서 가져오기를 선택합니다.
- 패키지가 프로젝트에 가져와집니다.
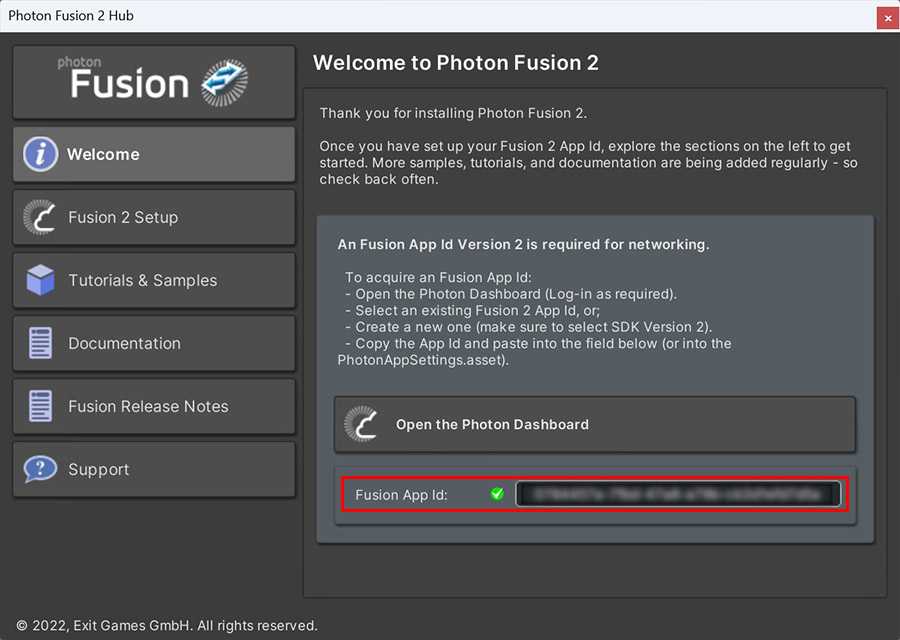
- Photon Fusion Hub가 나타나면 Fusion 2 AppId를 입력합니다 - 자세한 내용은 프로젝트 설정에서 확인하세요.
- Scenes/Startup 또는 Scenes/Deathmatch 장면을 열고 플레이 모드로 들어갑니다.
프로젝트 설정
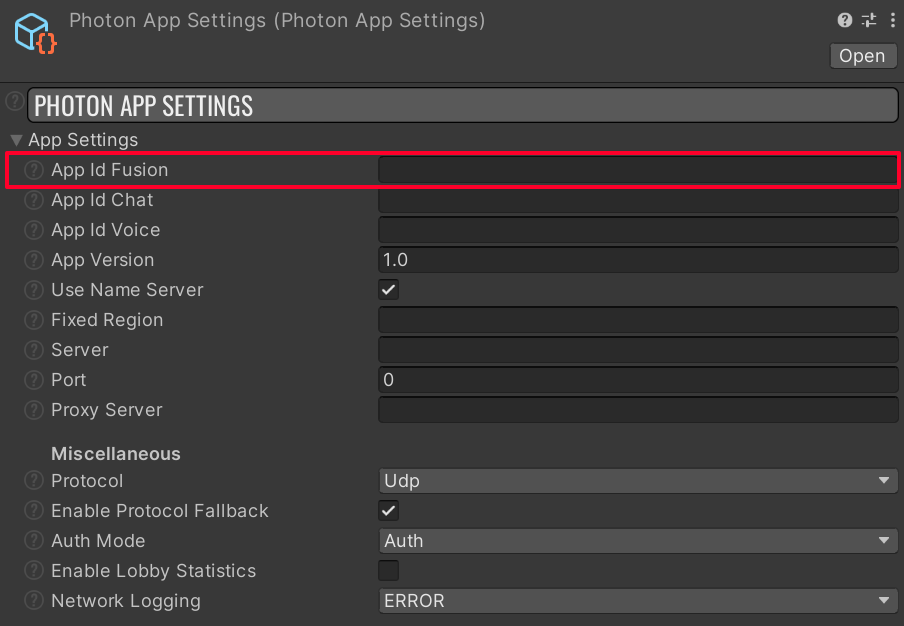
샘플을 실행하려면 PhotonAppSettings 자산에 Fusion 2 AppId를 지정해야 합니다.
먼저 Photon Engine 관리 화면에서 Fusion 2 AppId를 생성하고 이를 PhotonAppSettings의 App Id Fusion 필드에 붙여 넣습니다( Tools/Fusion/Realtime Settings 메뉴에서 접근하거나 Assets/Photon/Fusion/Resources/PhotonAppSettings.asset 파일을 직접 수정하여 가능합니다).
게임을 실행하려면 게임 시작하기 섹션의 지침을 따르세요.
Back to top