Project Setup
Package Import
Please follow this step-by-step guide to resolve common problems during Unity Asset Store package import process.
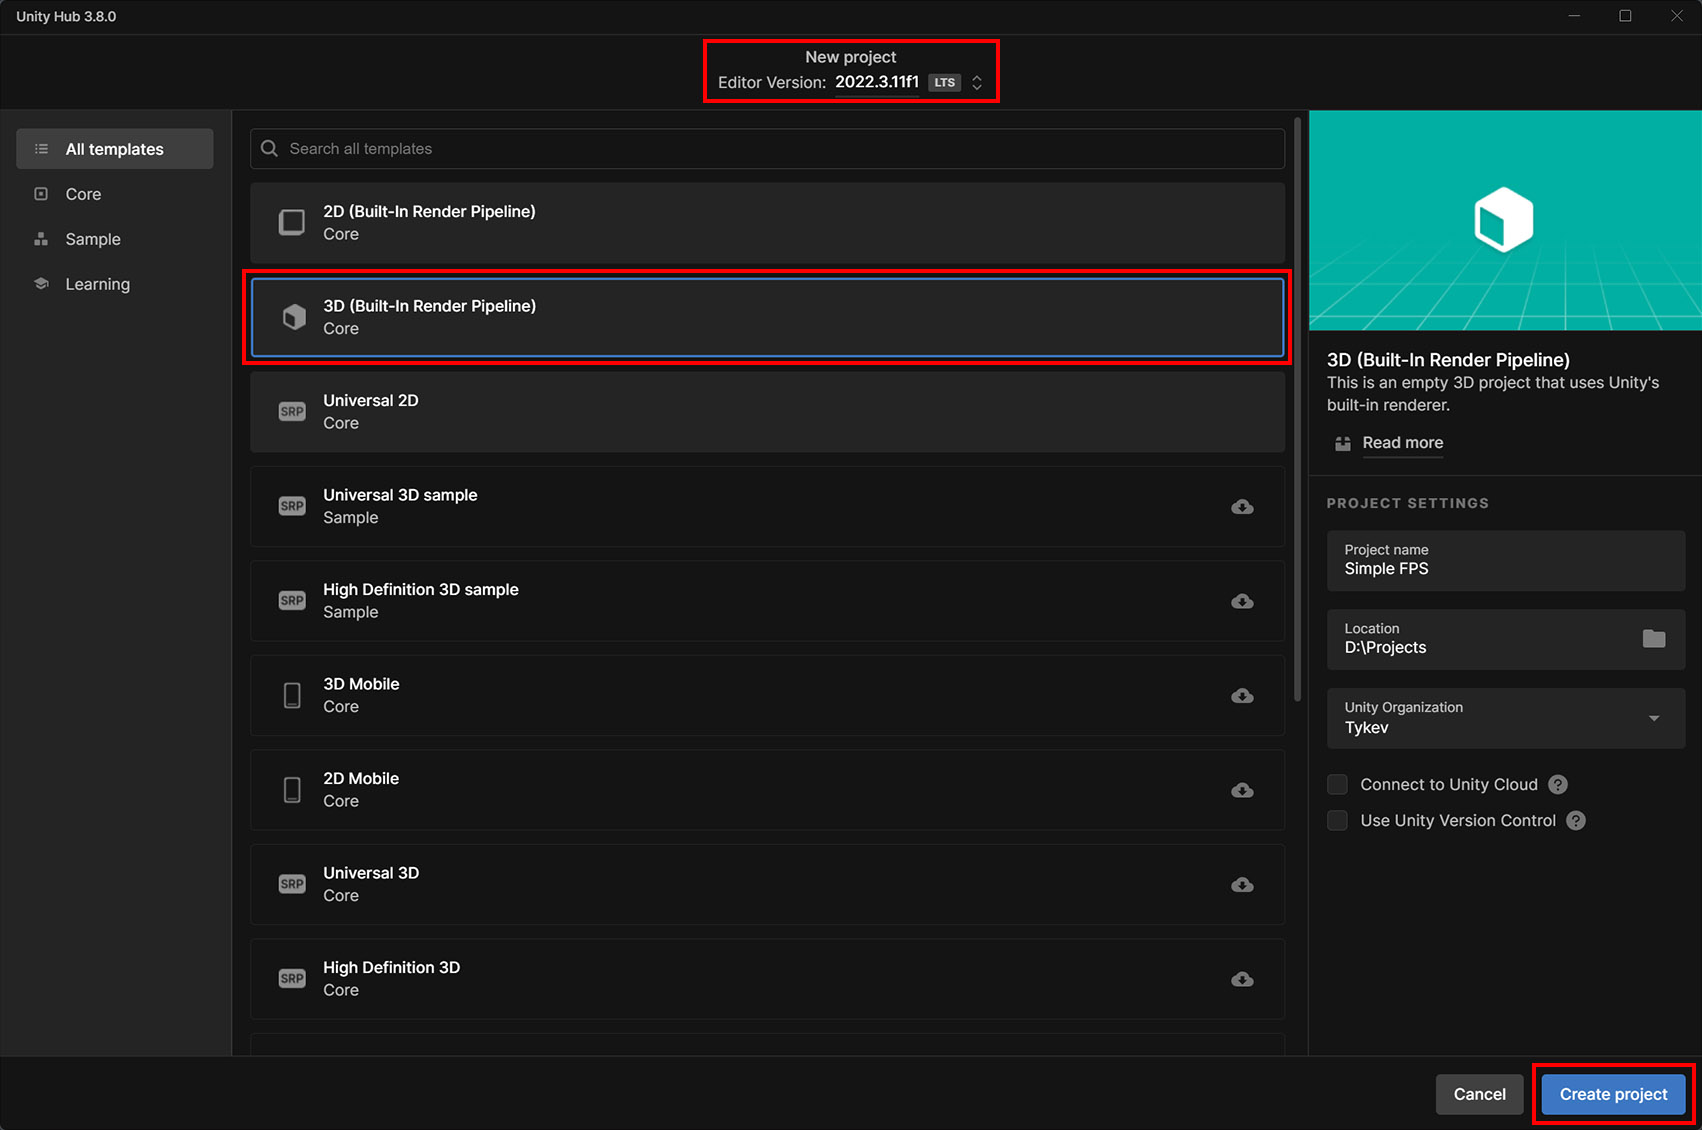
- Create a new Unity 3D project. We recommend using Unity 2022.3.11f1.
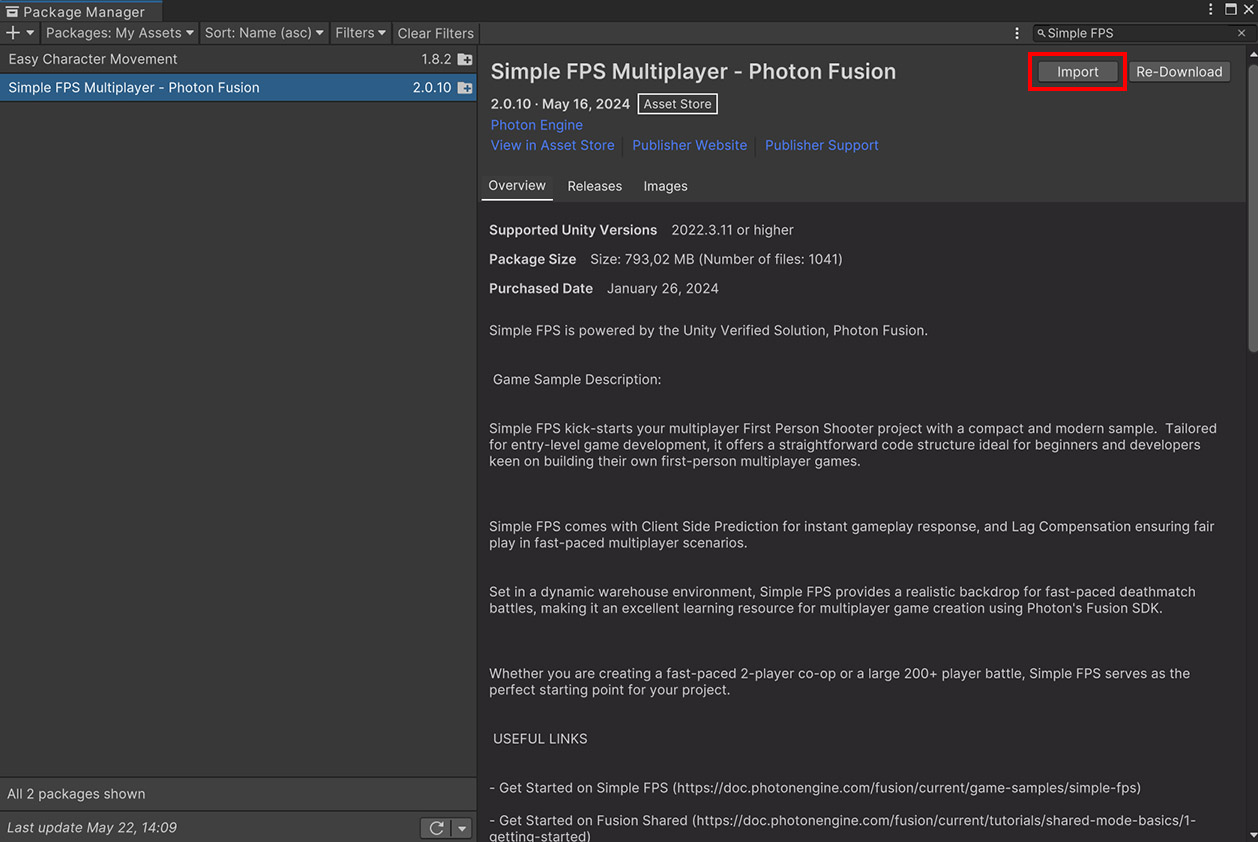
- Open Package Manager and import Simple FPS package.
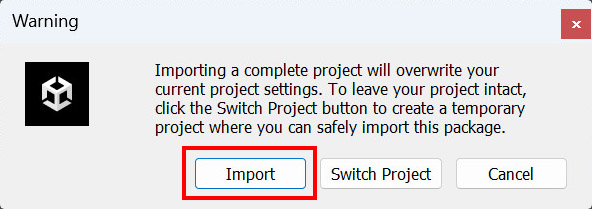
- In project settings overwrite warning, select Import.
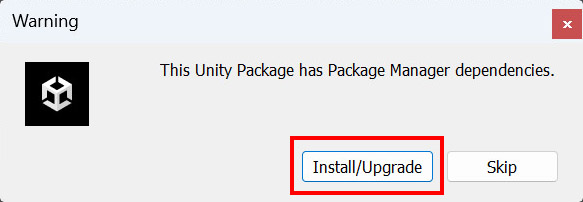
- In package dependencies warning, select Install/Upgrade.
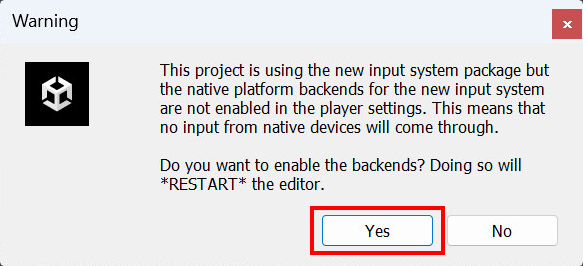
- The sample uses the new Input System package which requires Unity Editor to restart, select Yes.
- The Unity Editor automatically restarts. Unfortunately the import process doesn't continue, please repeat steps 2, 3, 4. This time you'll not need to restart the Unity Editor again.
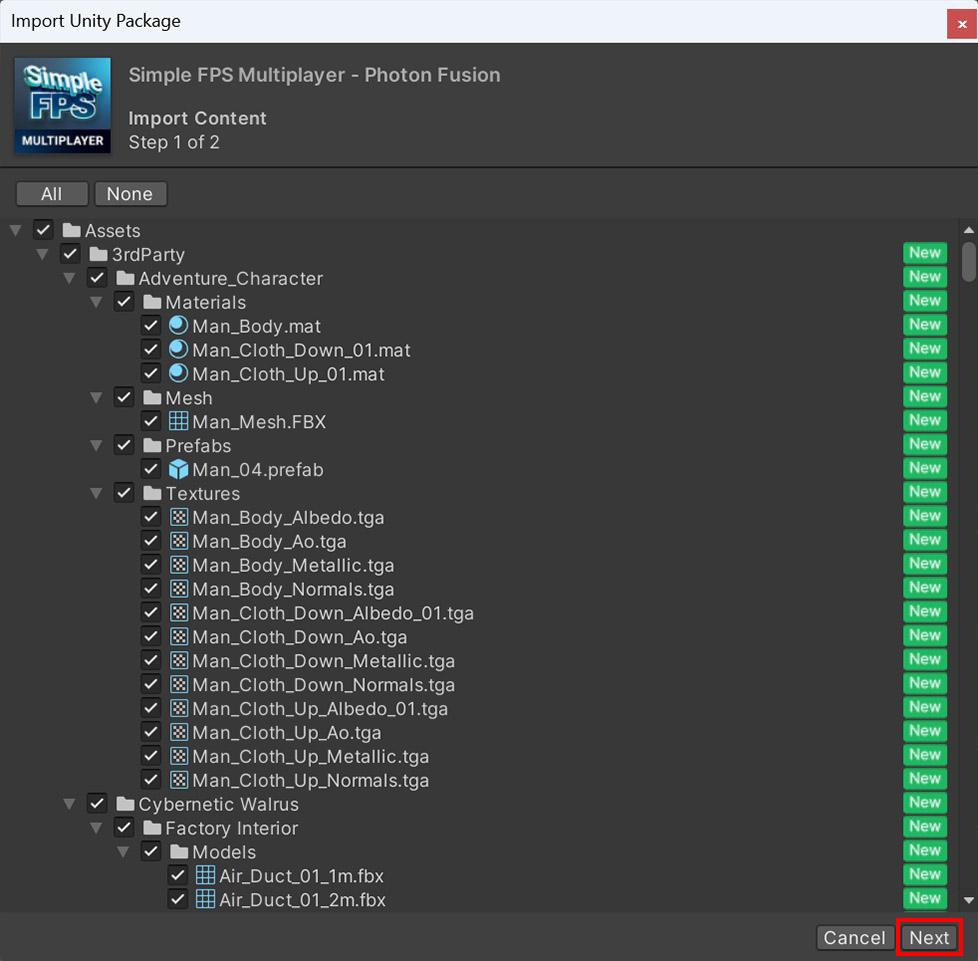
- On Import Unity Package (Step 1), select Next.
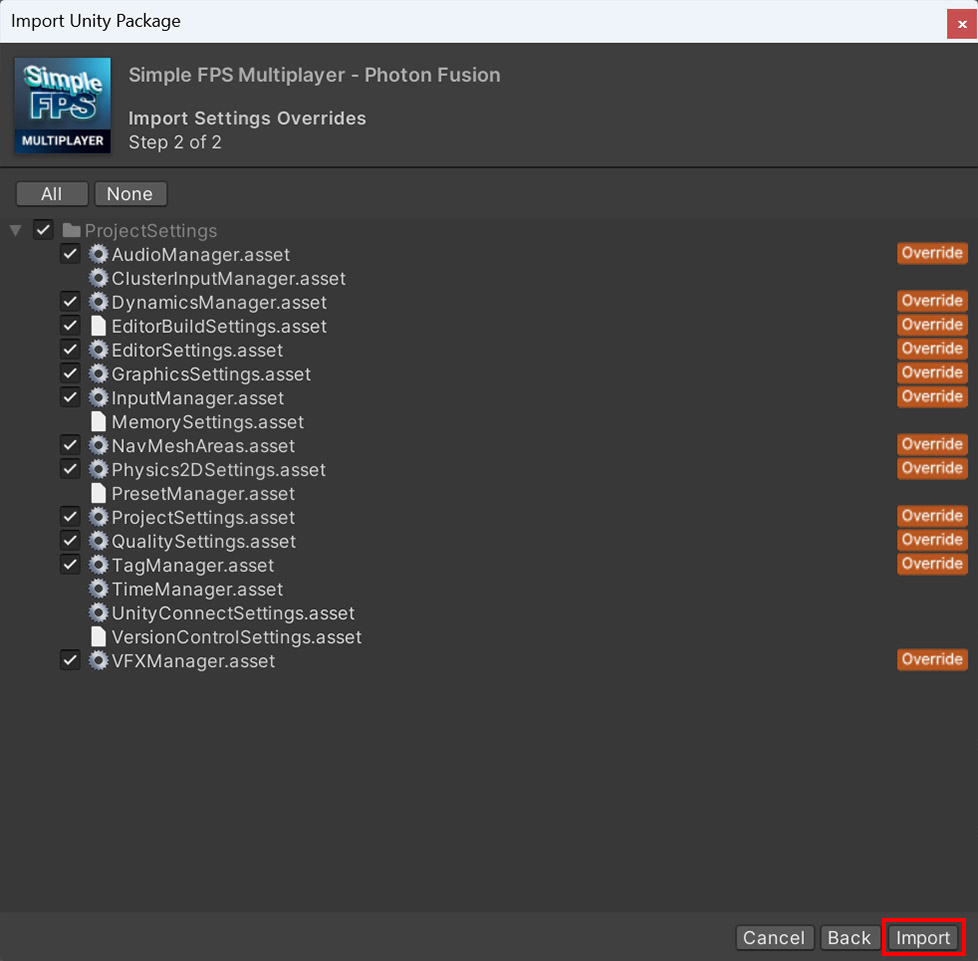
- On Import Unity Package (Step 2), select Import.
- The package will be imported into the project.
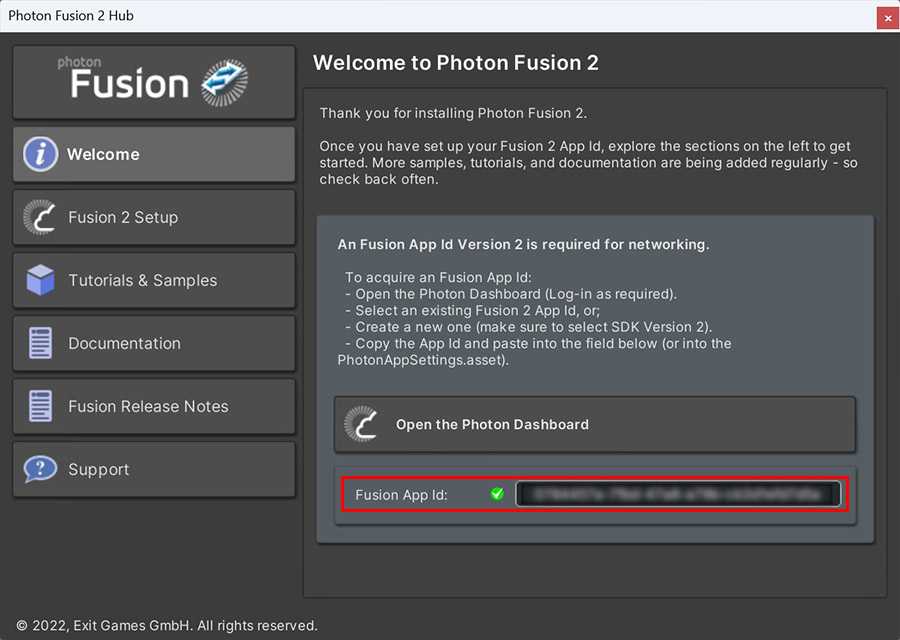
- If the Photon Fusion Hub pops up, fill in the Fusion 2 AppId - more info in Project Setup
- Open Scenes/Startup or Scenes/Deathmatch scene and enter Play mode.
Project Setup
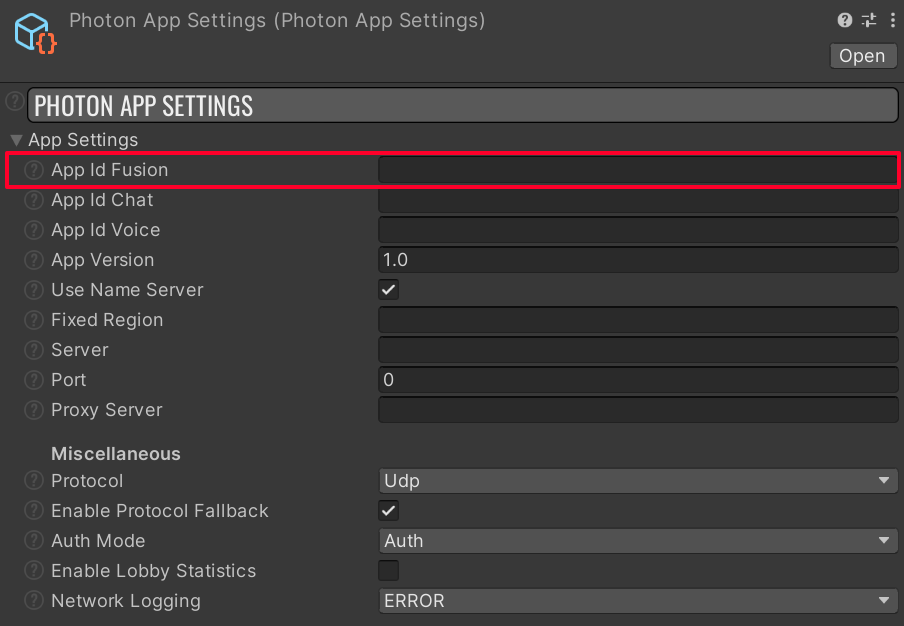
To run the sample, the Fusion 2 AppId needs to be assigned in the PhotonAppSettings asset.
First, create a Fusion 2 AppId in the Photon Engine Dashboard and paste it into the App Id Fusion field in the PhotonAppSettings (reachable from the Tools/Fusion/Realtime Settings menu or directly modifying file Assets/Photon/Fusion/Resources/PhotonAppSettings.asset).
To run the game, follow instructions in Starting The Game section.
Back to top