Project Setup
套件匯入
請按照本分步指南解決Unity Asset Store套件匯入過程中的常見問題。
- 建立一個新的Unity 3D專案。我們建議使用 Unity 2022.3.11f1。
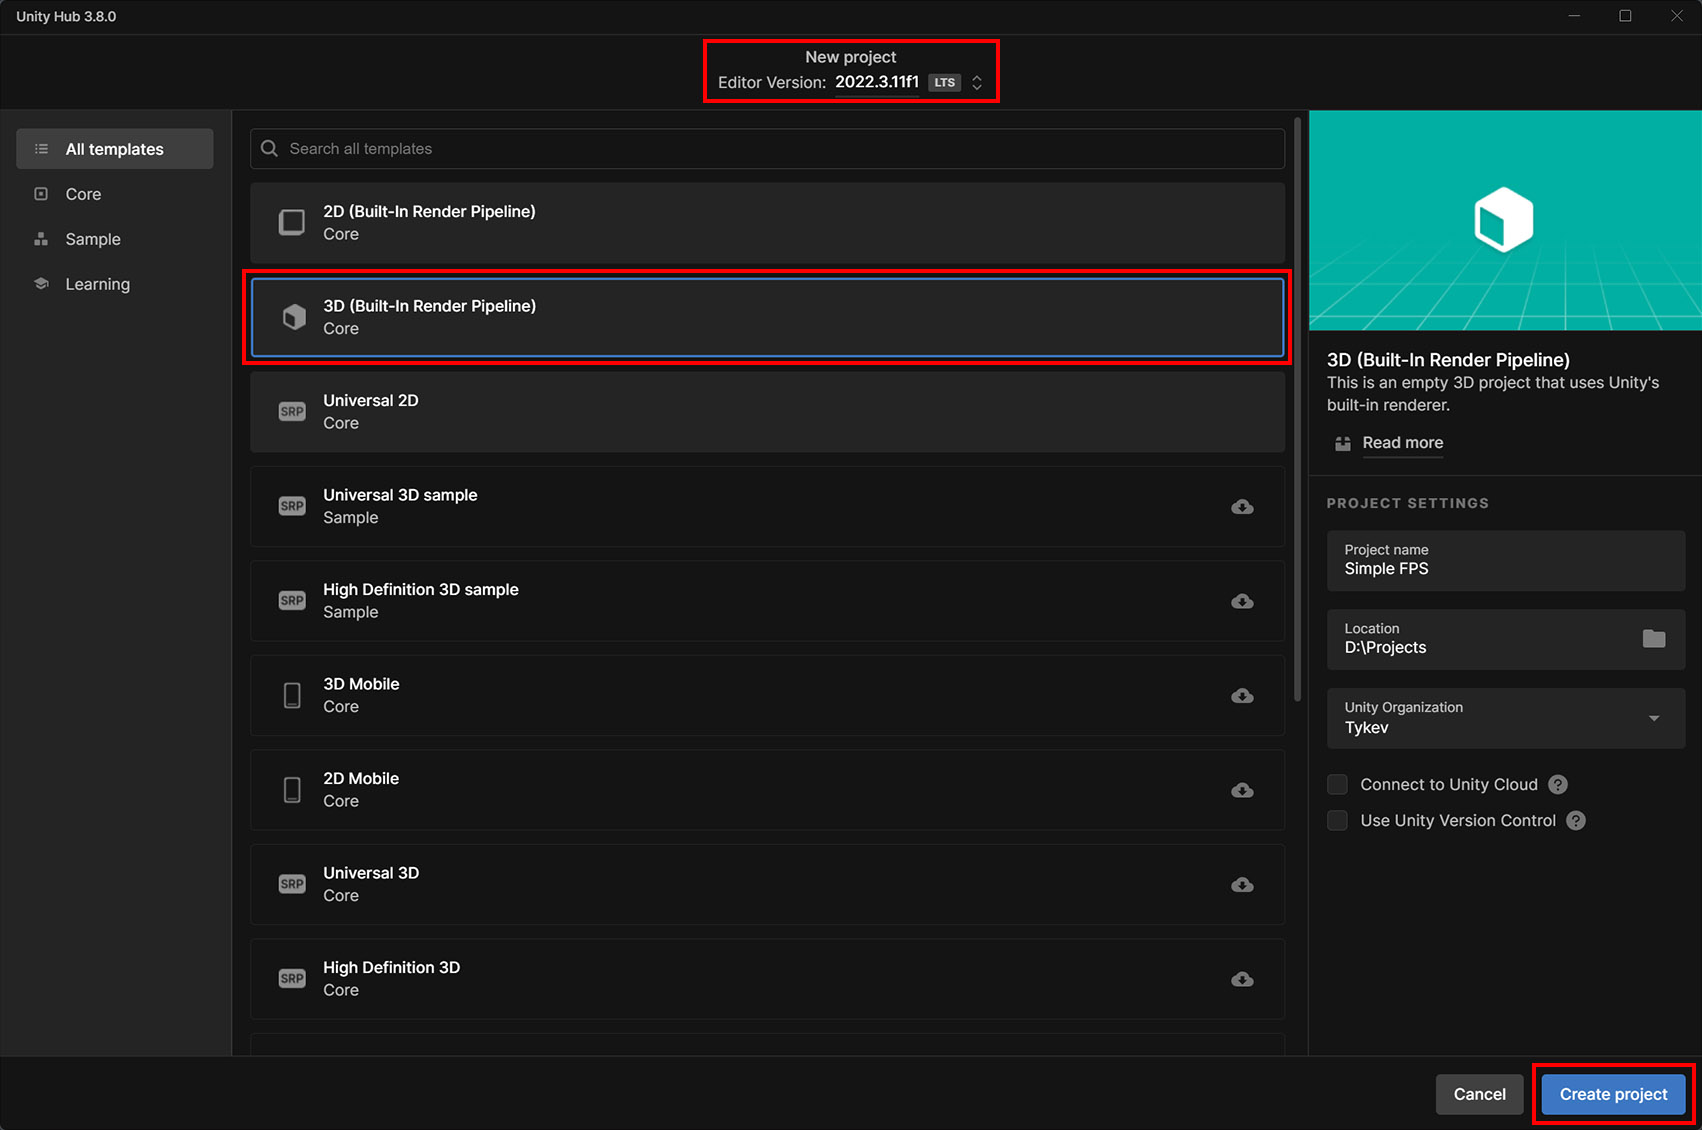
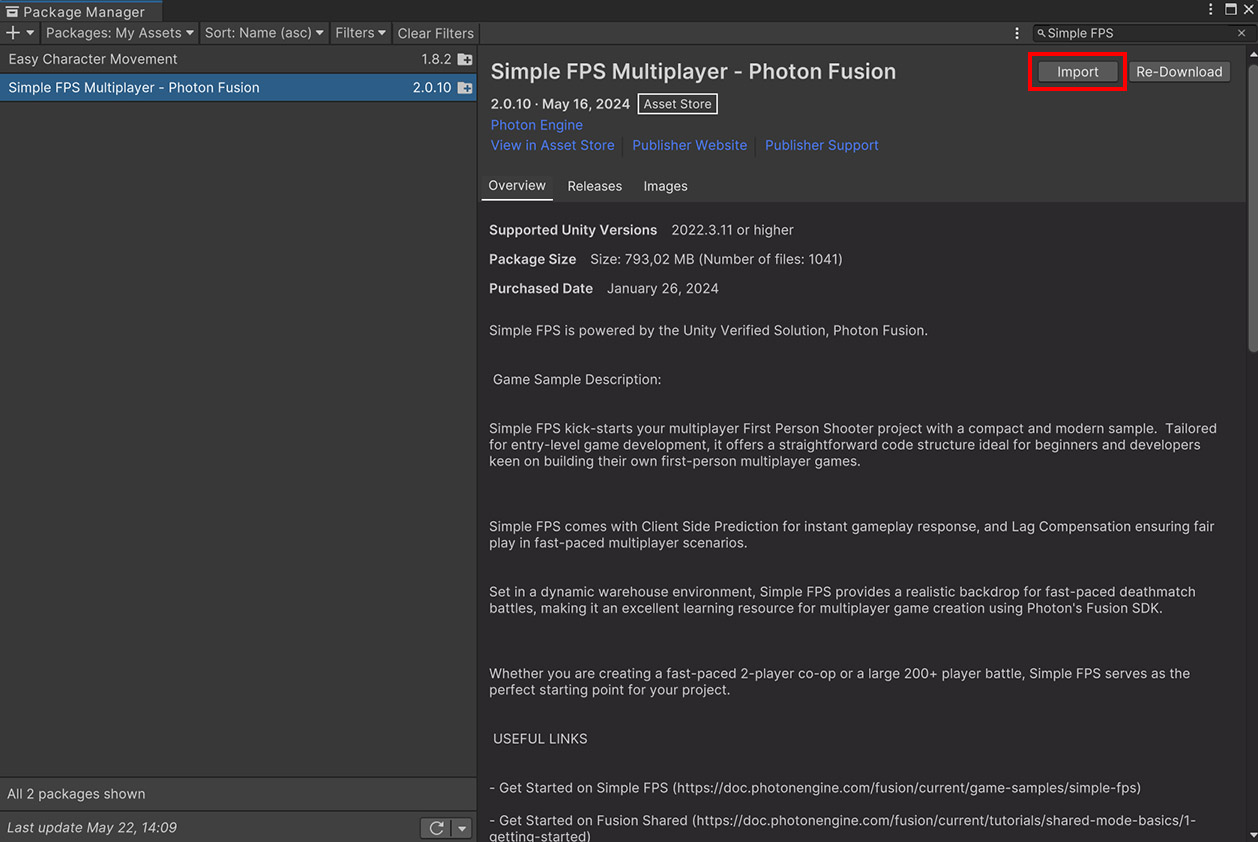
- 開啟 套件管理器 並且匯入Simple FPS套件。
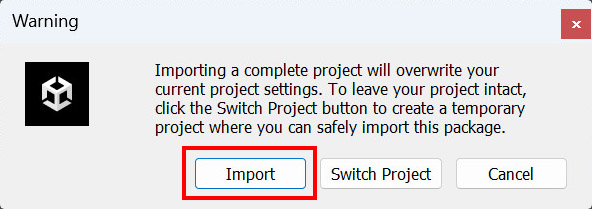
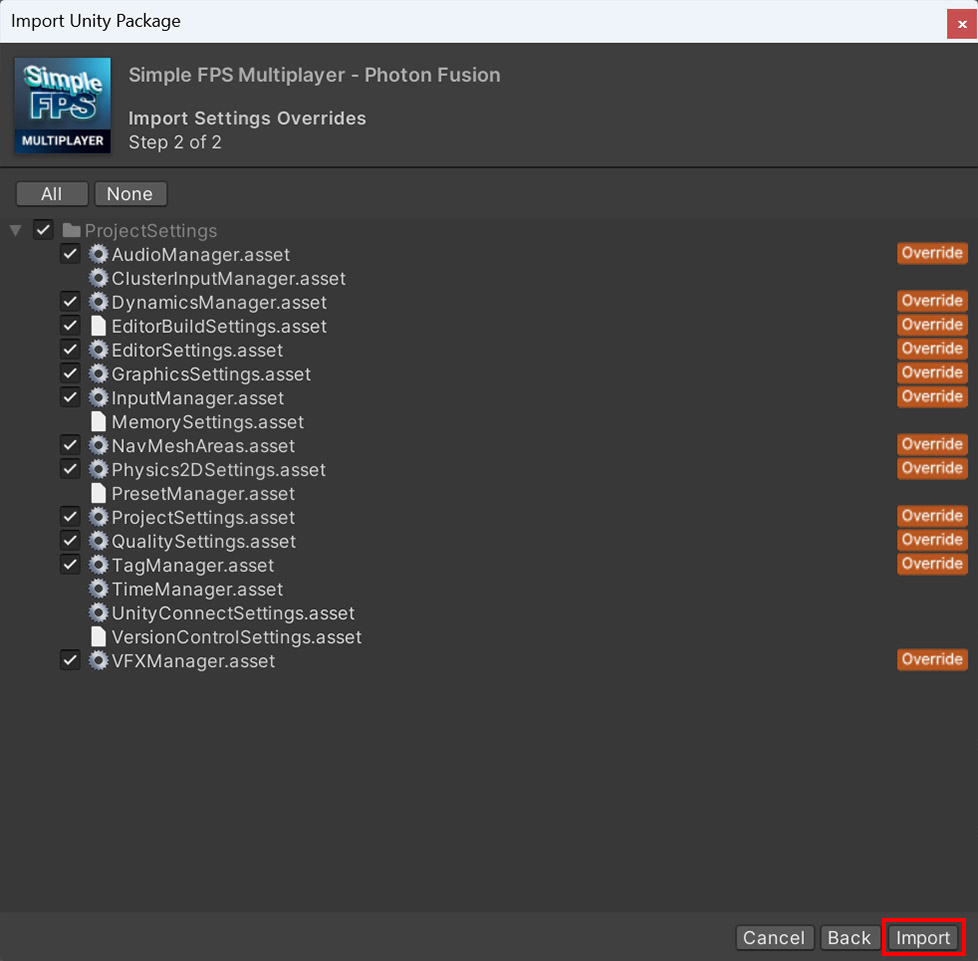
- 在專案設定覆蓋警告中,選擇 匯入。
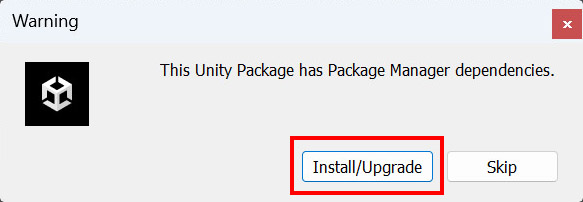
- 在套件依賴項警告中,選擇 安裝/升級。
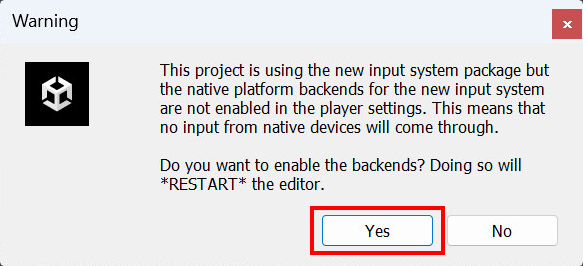
- 範例使用新的輸入系統套件,需要Unity編輯器來重新啟動,選擇 是。
- Unity編輯器自動重新啟動。很遺憾,匯入過程無法繼續,請 重複步驟2、3、4。這一次,您不需要再次重新啟動Unity編輯器。
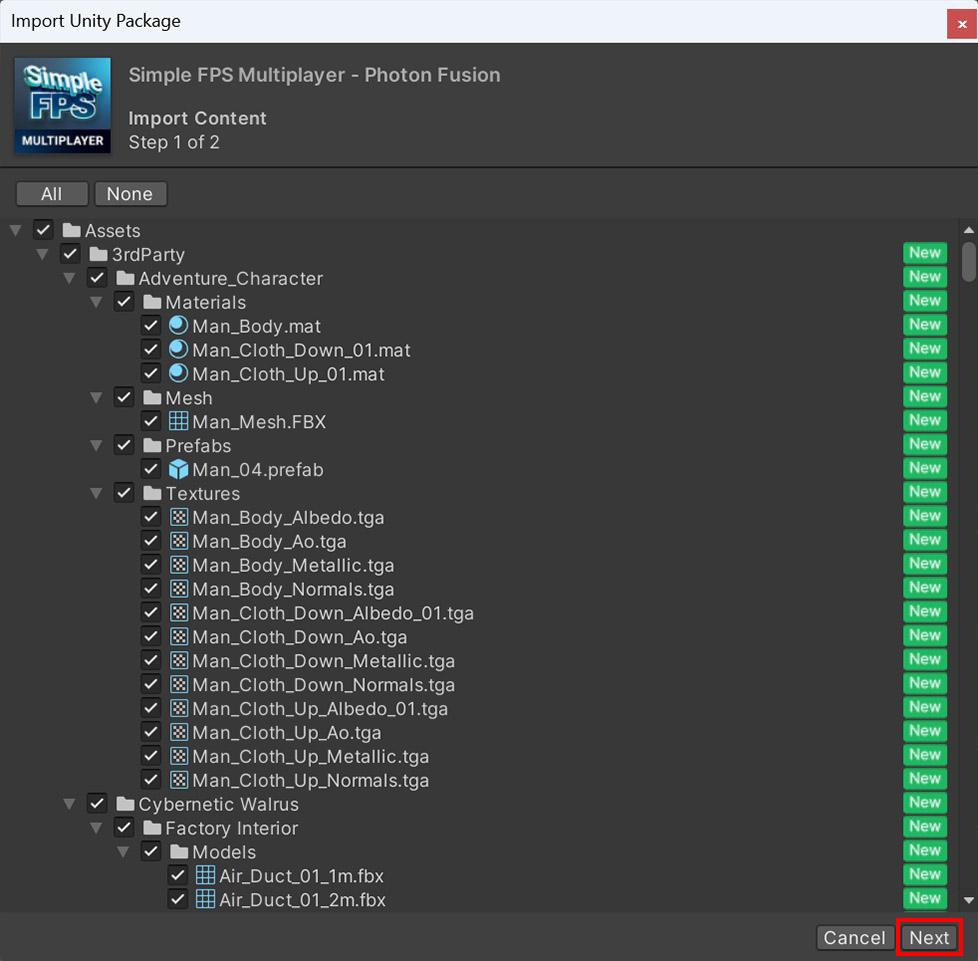
- 在匯入Unity套件(步驟1)上,選擇 下一步。
- 在匯入Unity套件(步驟2)上,選擇 匯入。
- 套件將被匯入到專案中。
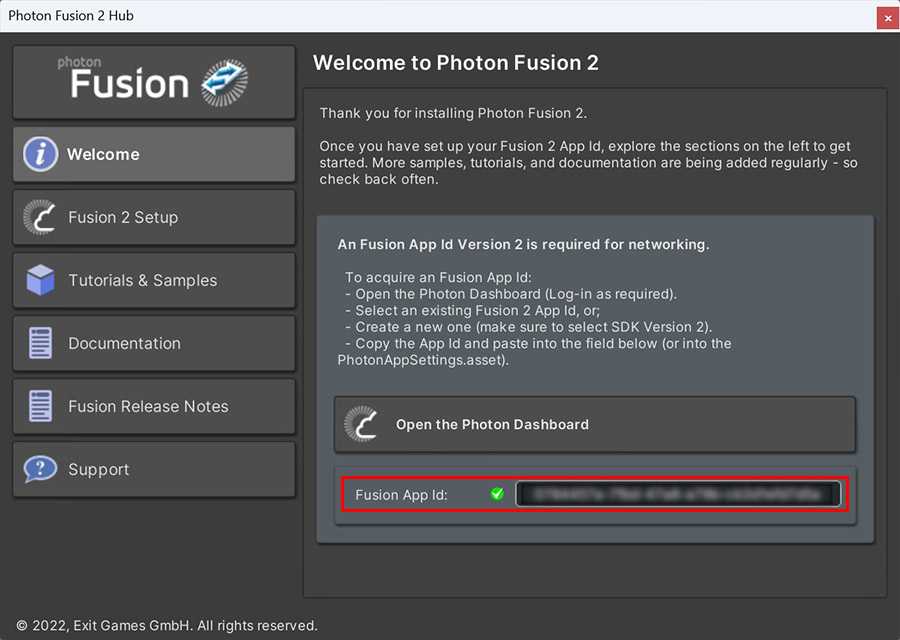
- 如果Photon Fusion Hub彈出,請填寫 Fusion 2應用程式帳號-更多資訊在專案設定中
- 打開 場景/啟動 或 場景/死亡對戰 場景,進入 遊玩 模式。
專案設定
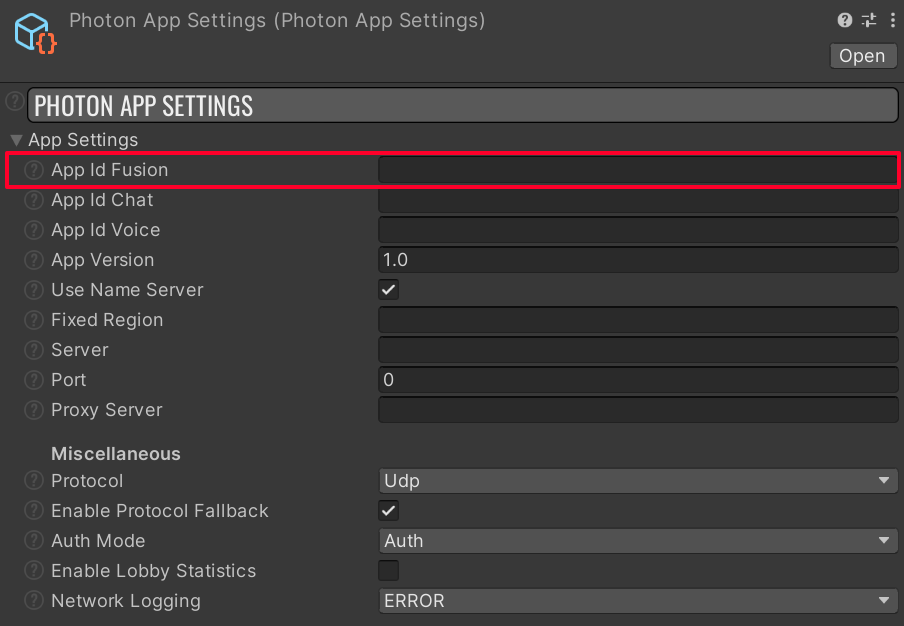
為了運行範例,Fusion 2應用程式帳號需要在PhotonAppSettings資產中被指派。
首先在Photon引擎儀表板中建立Fusion 2應用程式帳號,將它貼上到PhotonAppSettings(可從Tools/Fusion/Realtime Settings選單到達或直接修改檔案Assets/Photon/Fusion/Resources/PhotonAppSettings.asset)中的App Id Fusion欄位中。
為了運行遊戲,遵循啟動遊戲章節中的指引。
Back to top