Quickstart
Package Import
- Create a new Unity 3D project. We recommend using Unity 6000.3.19f1.
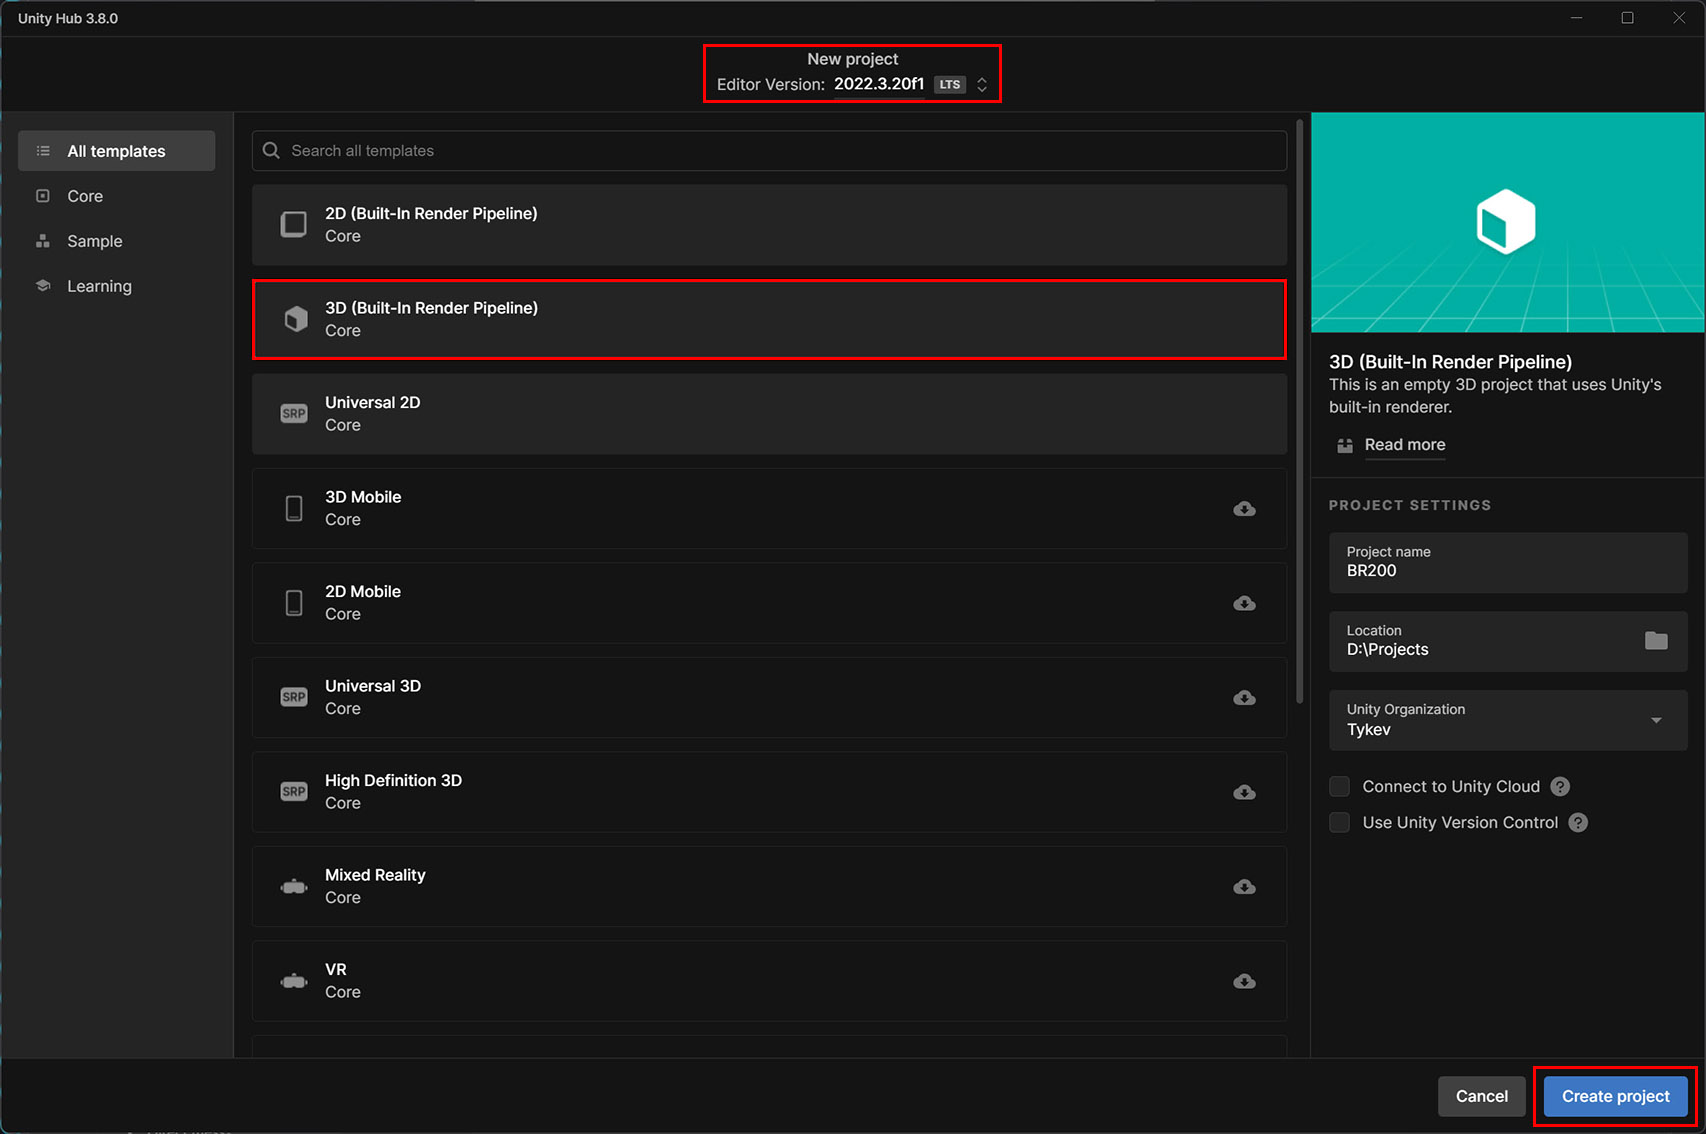
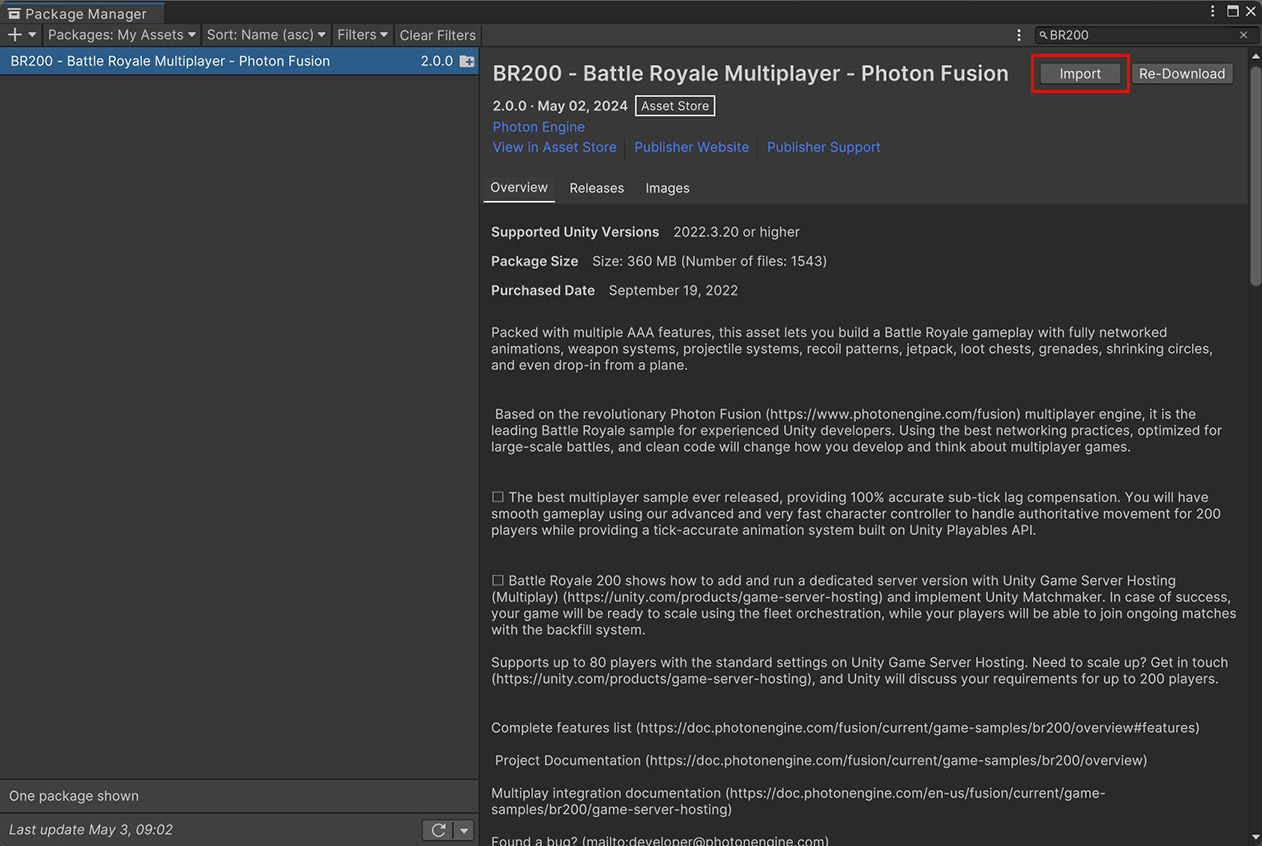
- Open Package Manager and import BR200 package.
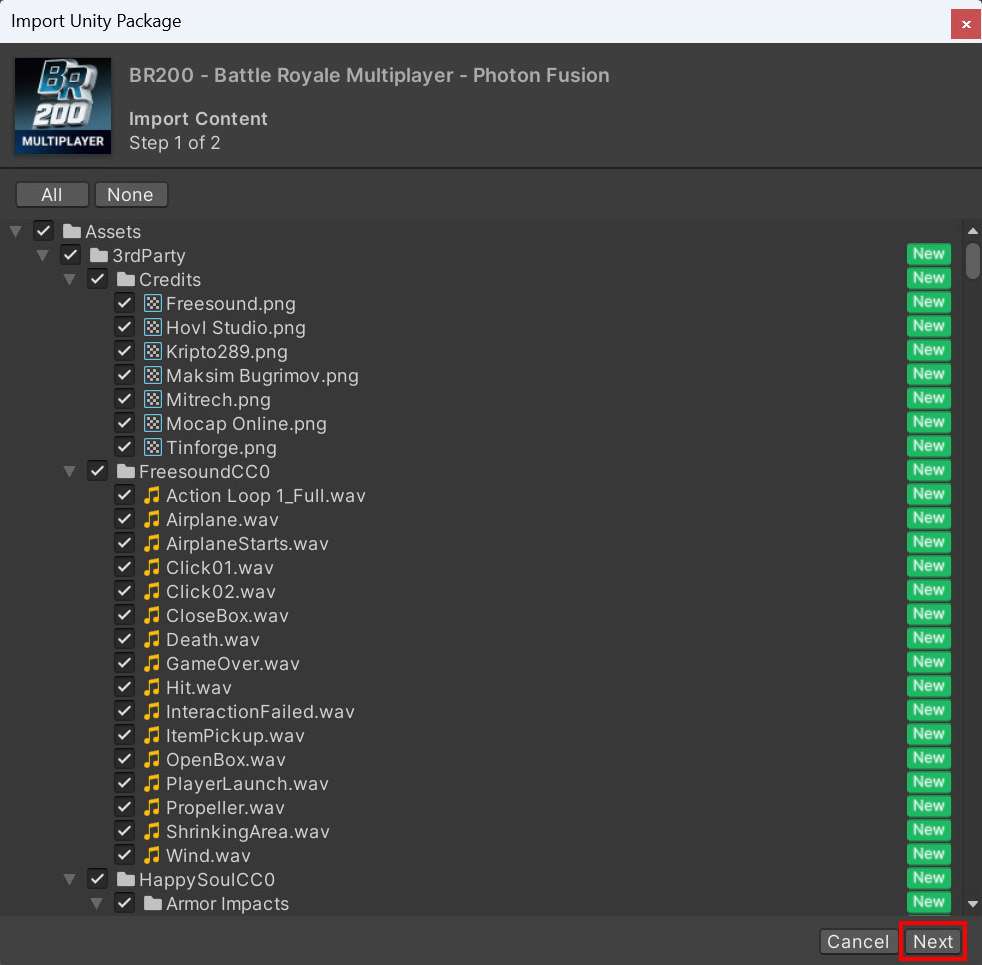
- On Import Unity Package (Step 1), select Next.
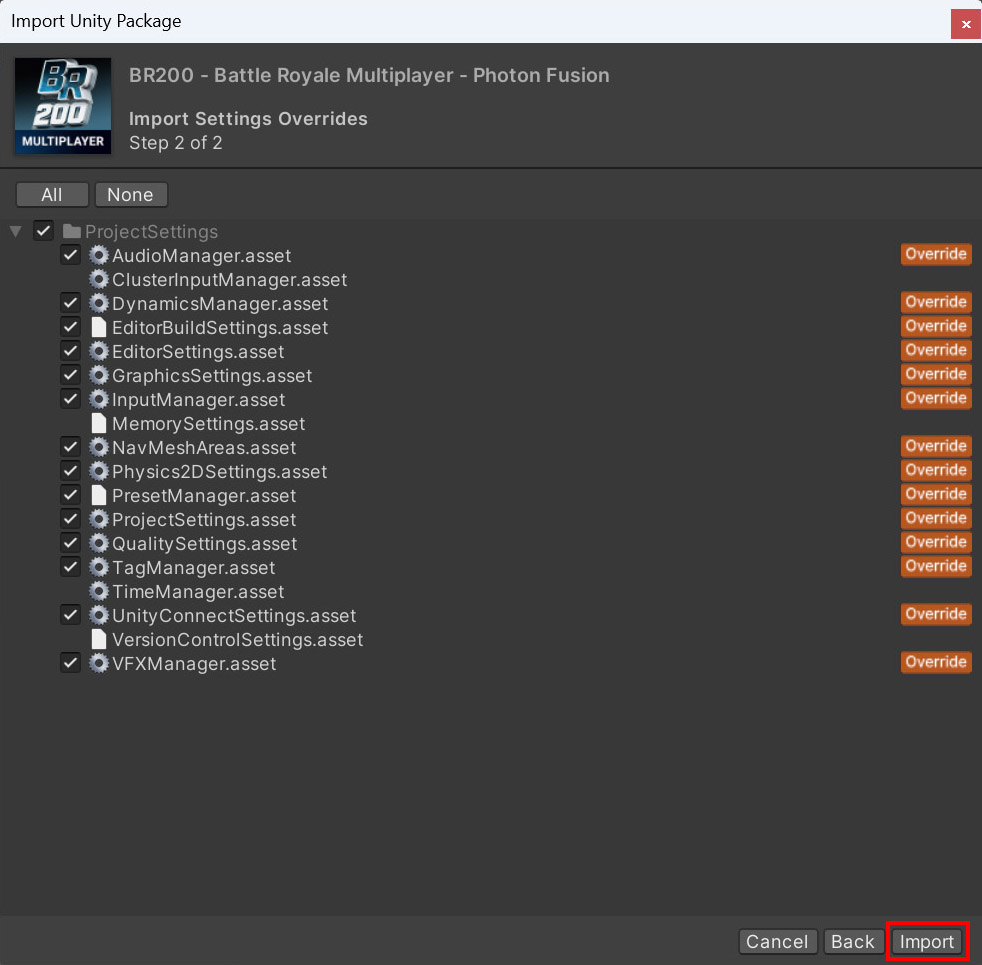
- On Import Unity Package (Step 2), select Import.
- The package will be imported.

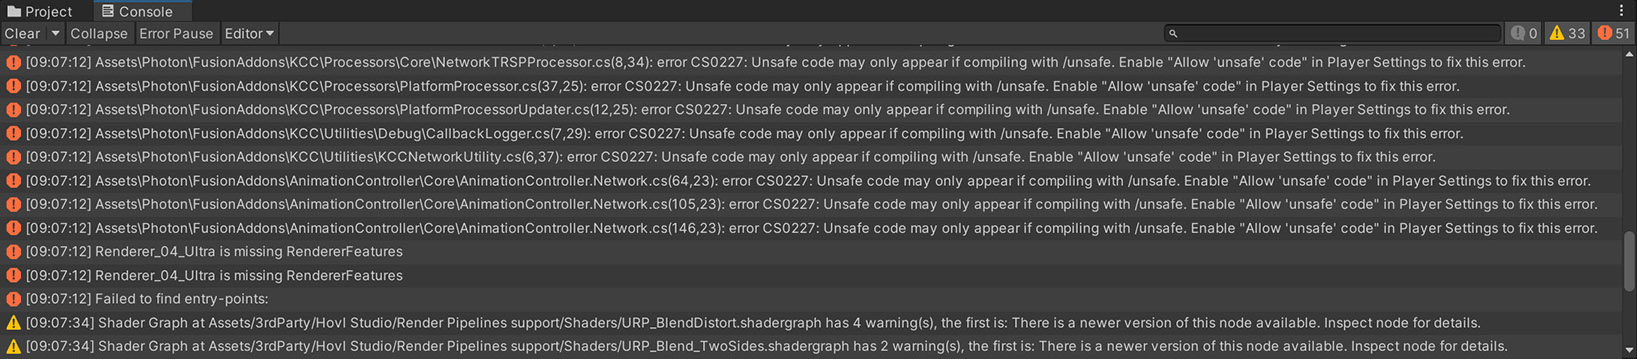
- Sometimes Unity throws errors in console with missing renderer feature or Allow 'unsafe' code.
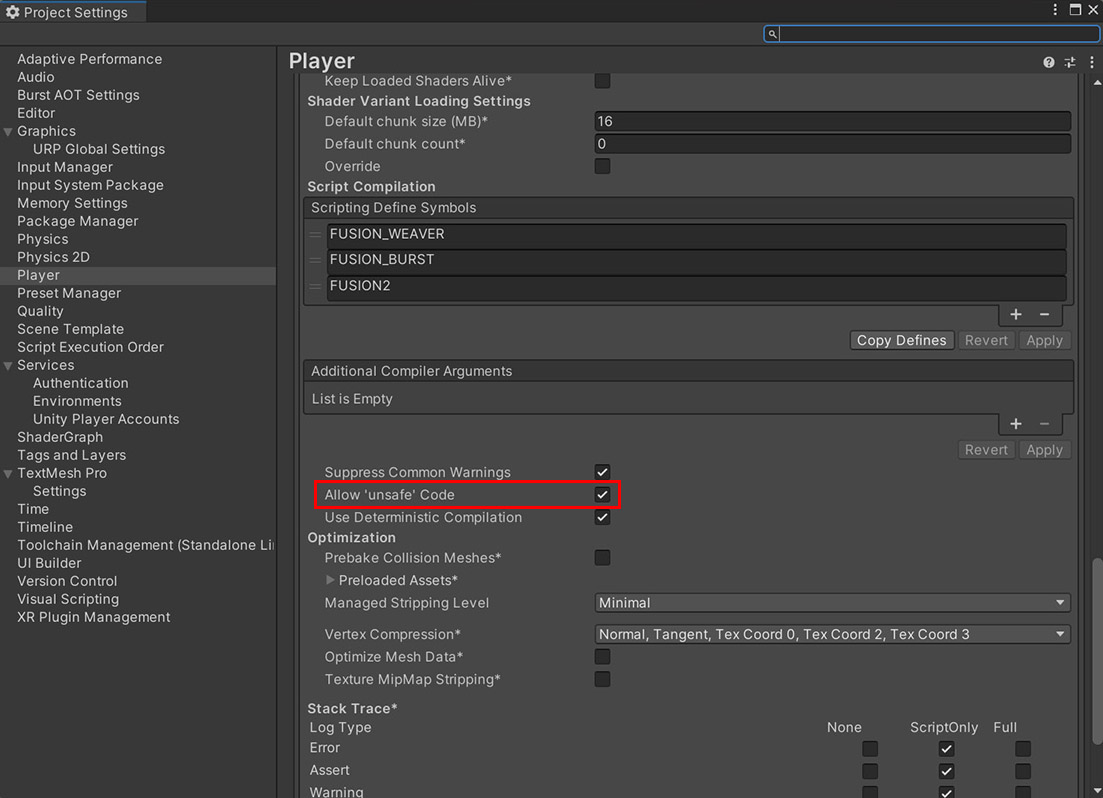
- To resolve above errors, open Project Settings and toggle Allow 'unsafe' code off => on.
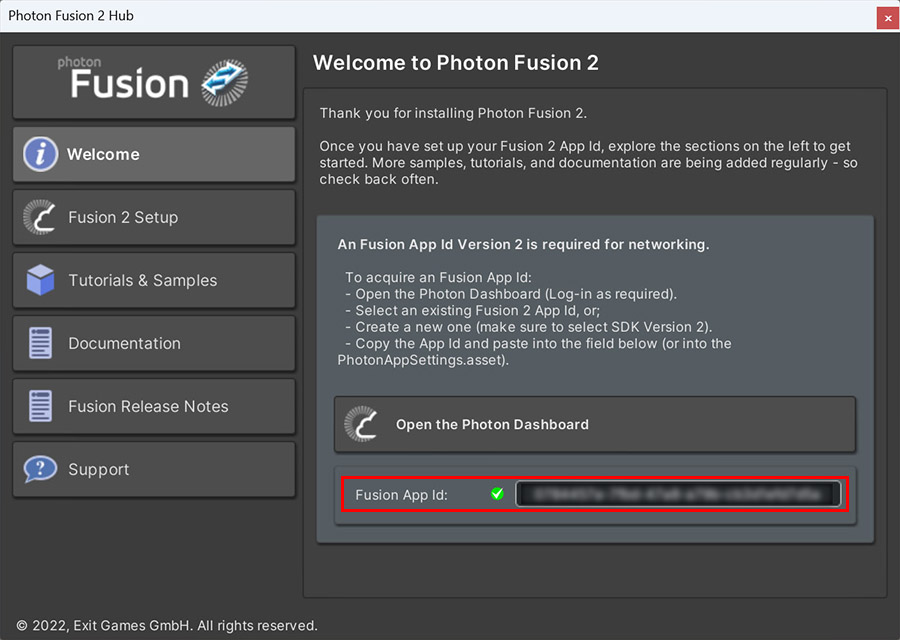
- When the Photon Fusion Hub pops up, fill in the Fusion 2 AppId - more info in Project Setup
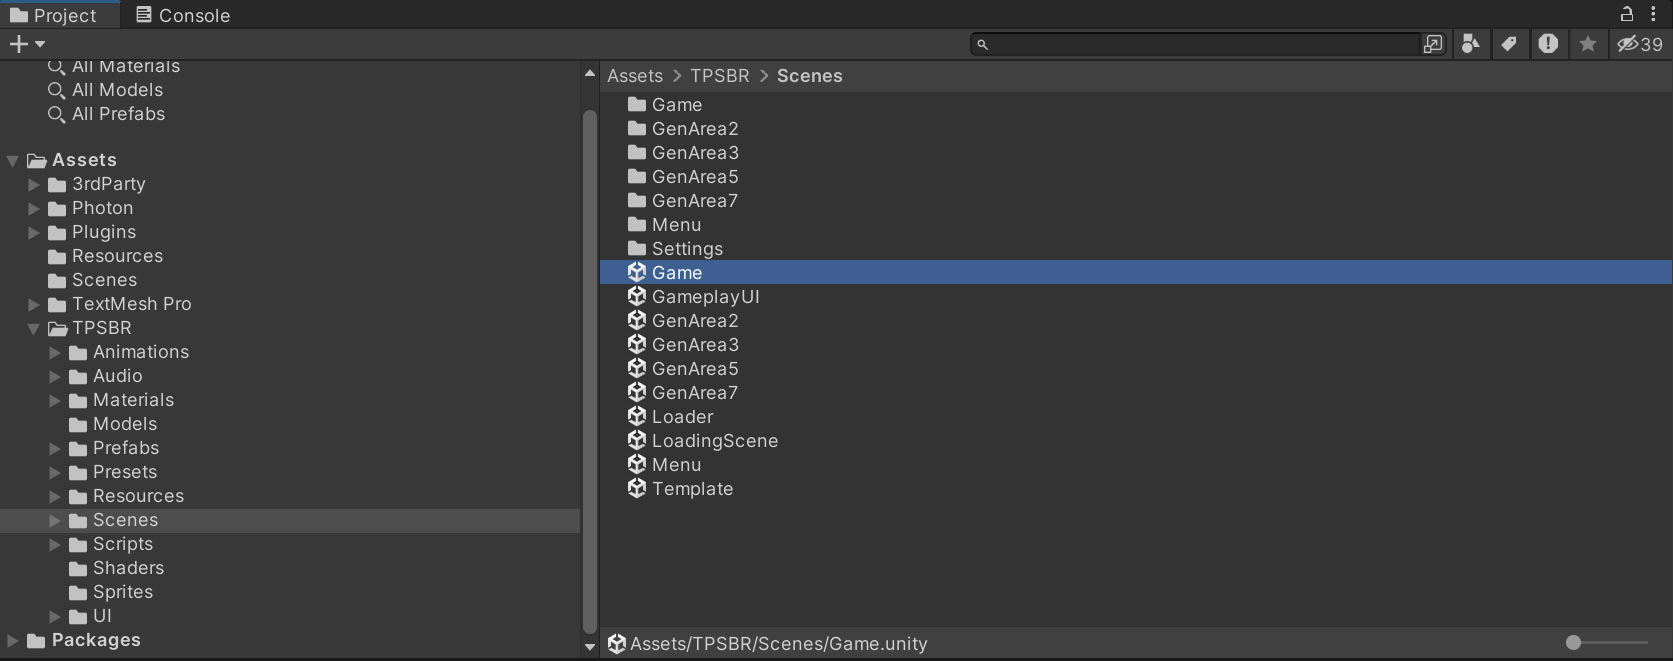
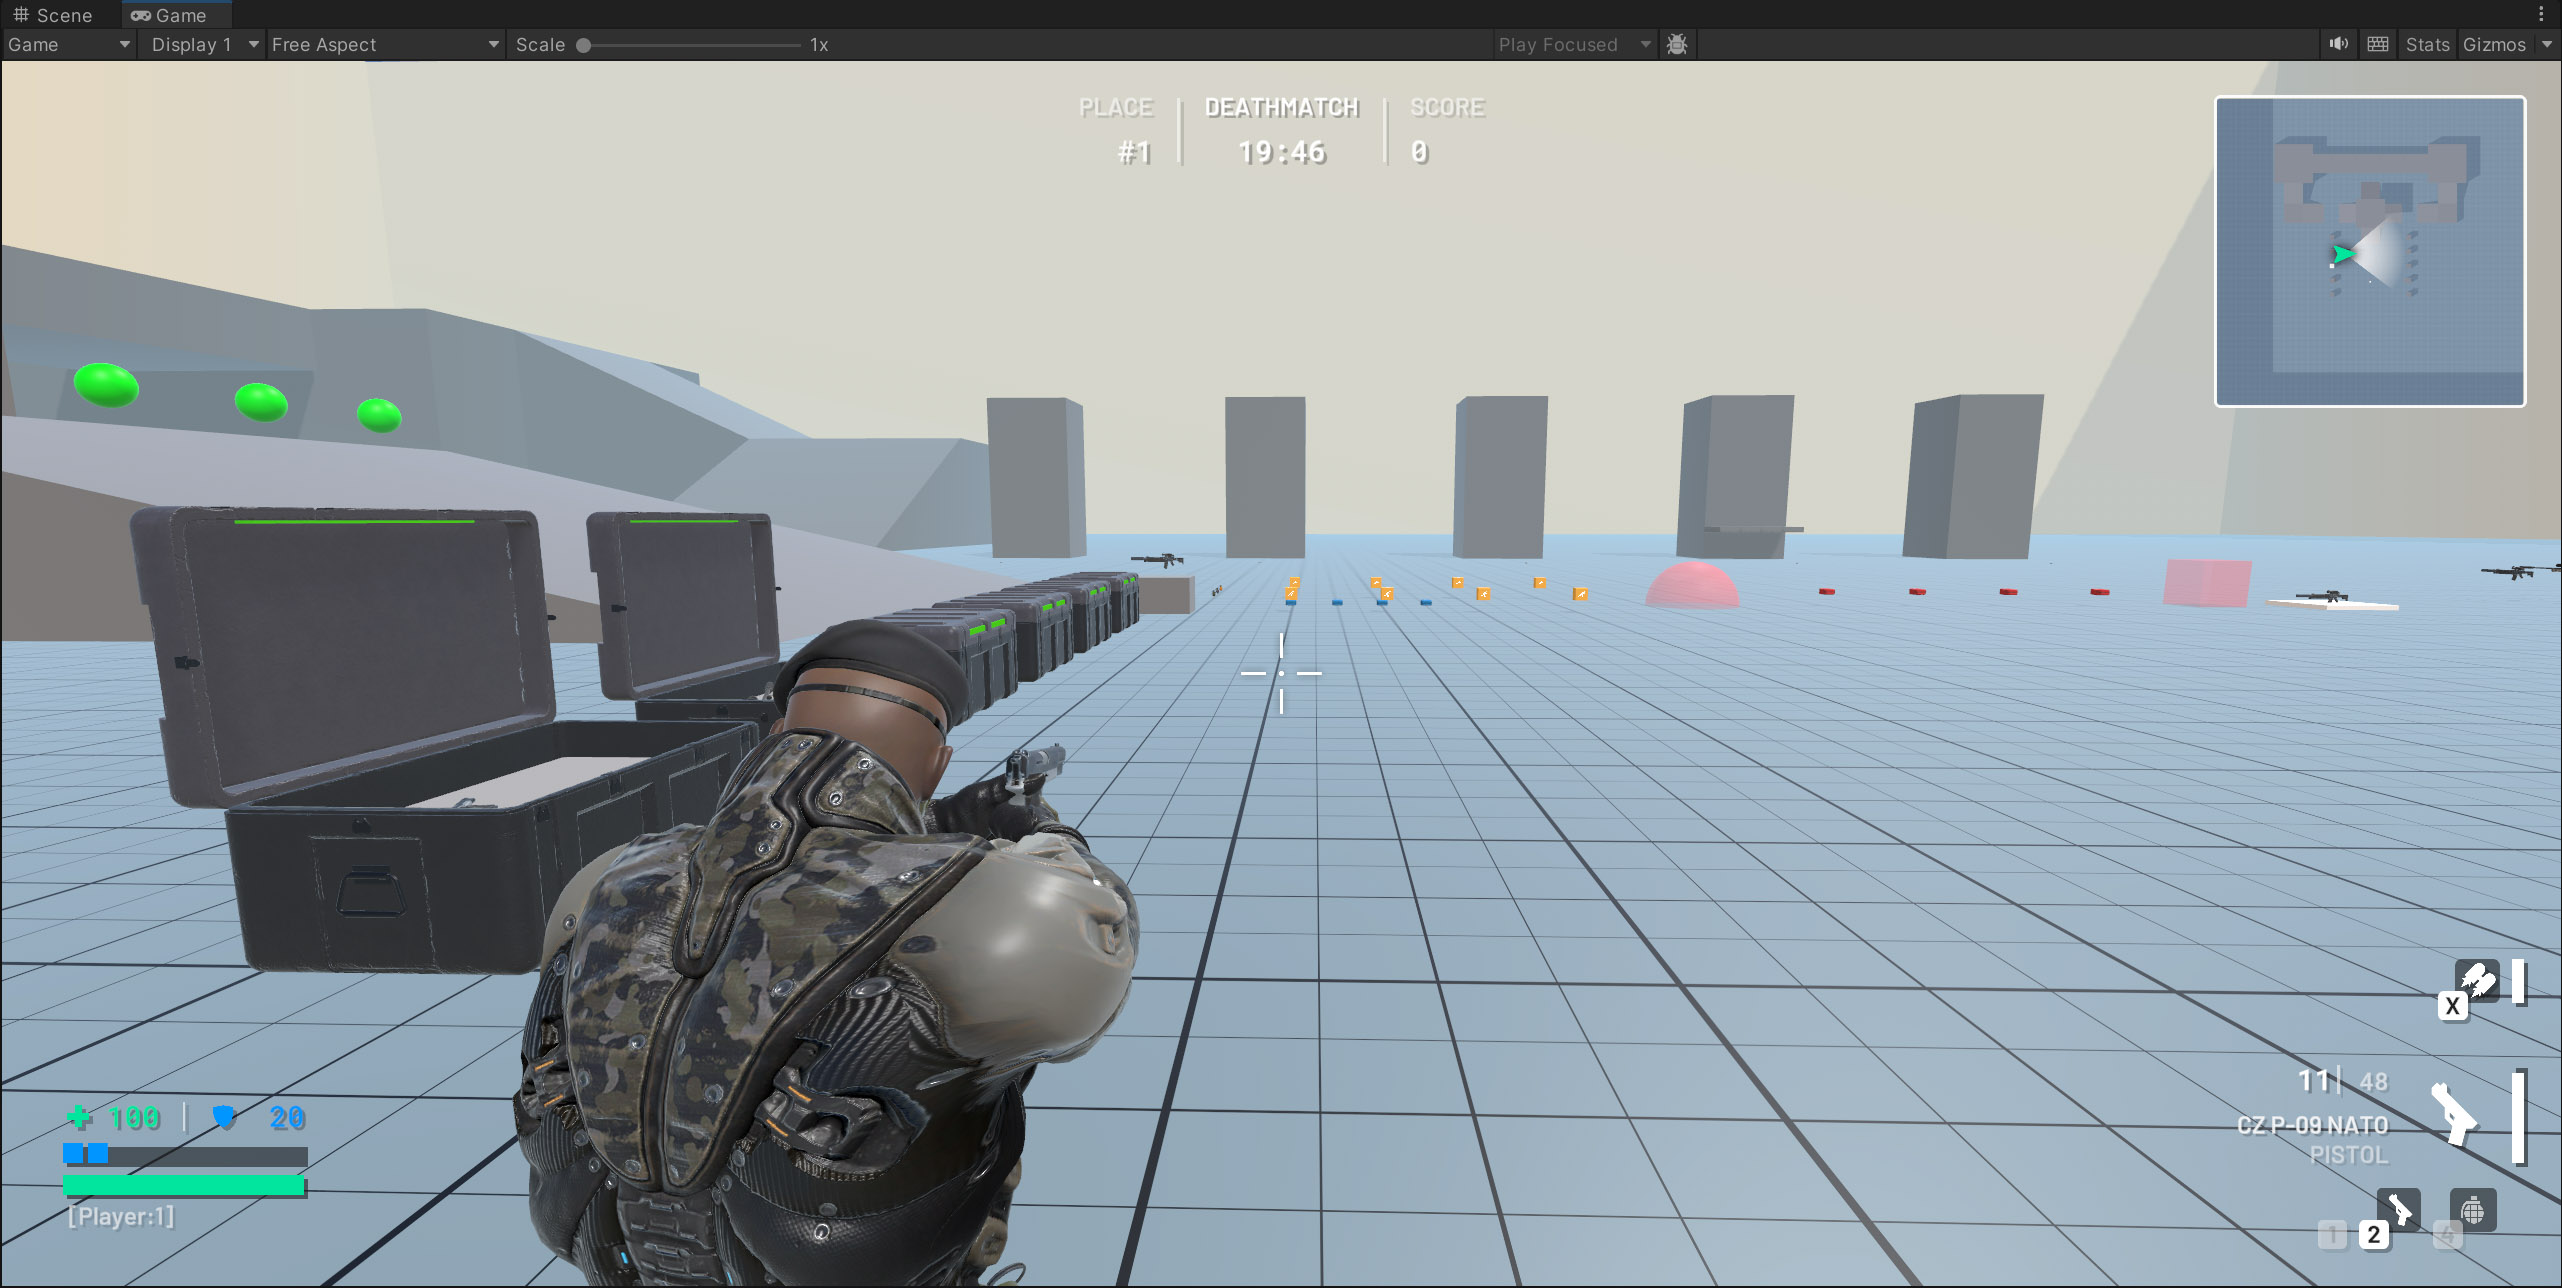
- Open TPSBR/Scenes/Game scene and enter Play mode.
- If something doesn't work, please Restart Unity editor and try playing TPSBR/Scenes/Game scene again.
Project Setup
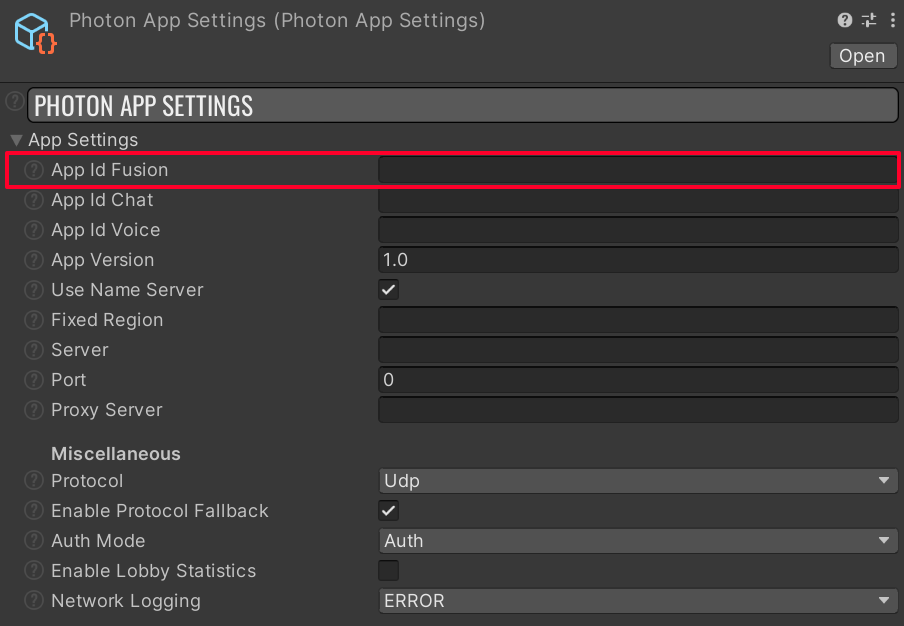
To run the sample, the Fusion 2 AppId needs to be assigned in the PhotonAppSettings asset.
First, create a Fusion 2 AppId in the Photon Engine Dashboard and paste it into the App Id Fusion field in the PhotonAppSettings (reachable from the Tools/Fusion/Realtime Settings menu or directly modifying file Assets/Photon/Fusion/Resources/PhotonAppSettings.asset).
Starting The Game
Menu Start
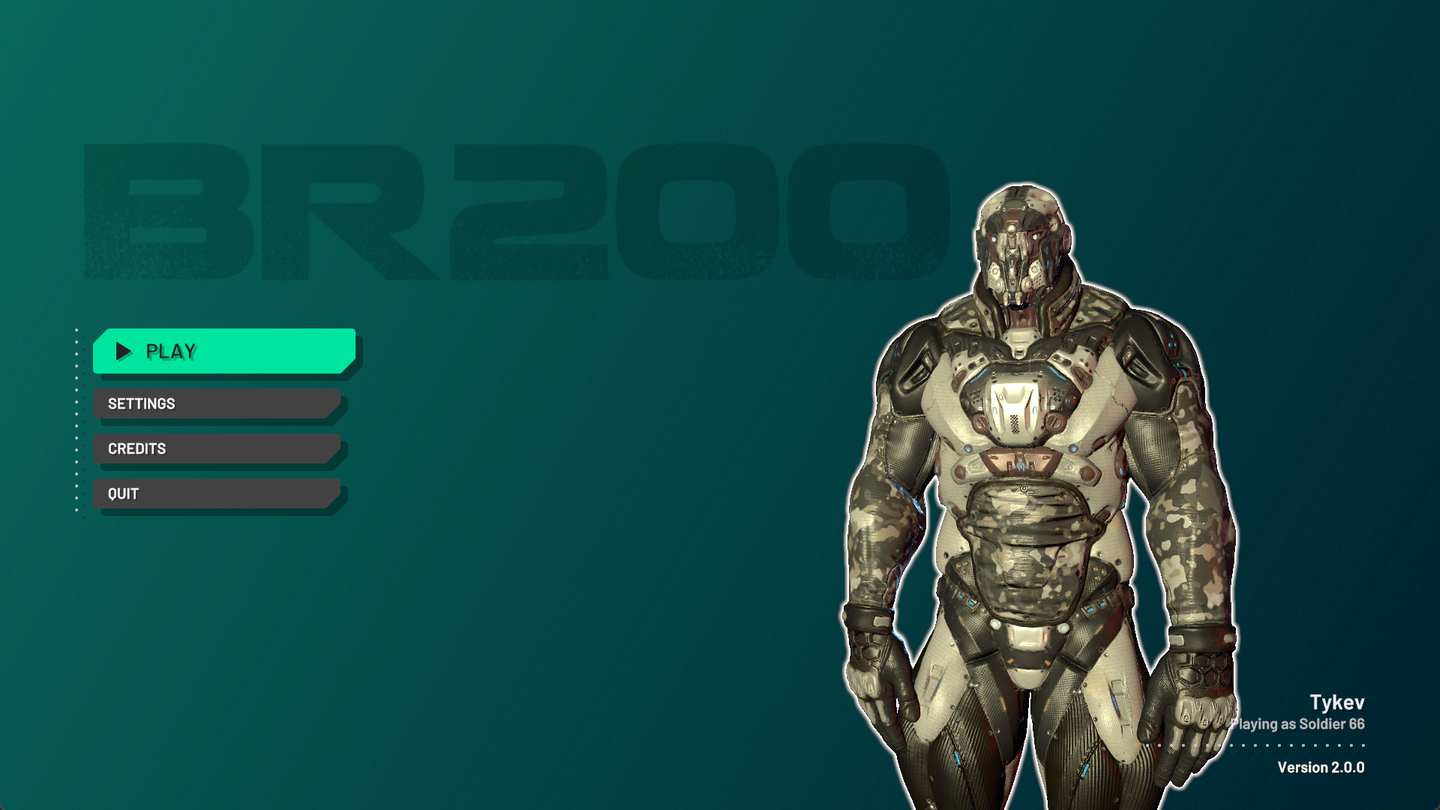
Open the Menu or Loader scene in Assets/TPSBR/Scenes, enter the play mode and hit Play button.
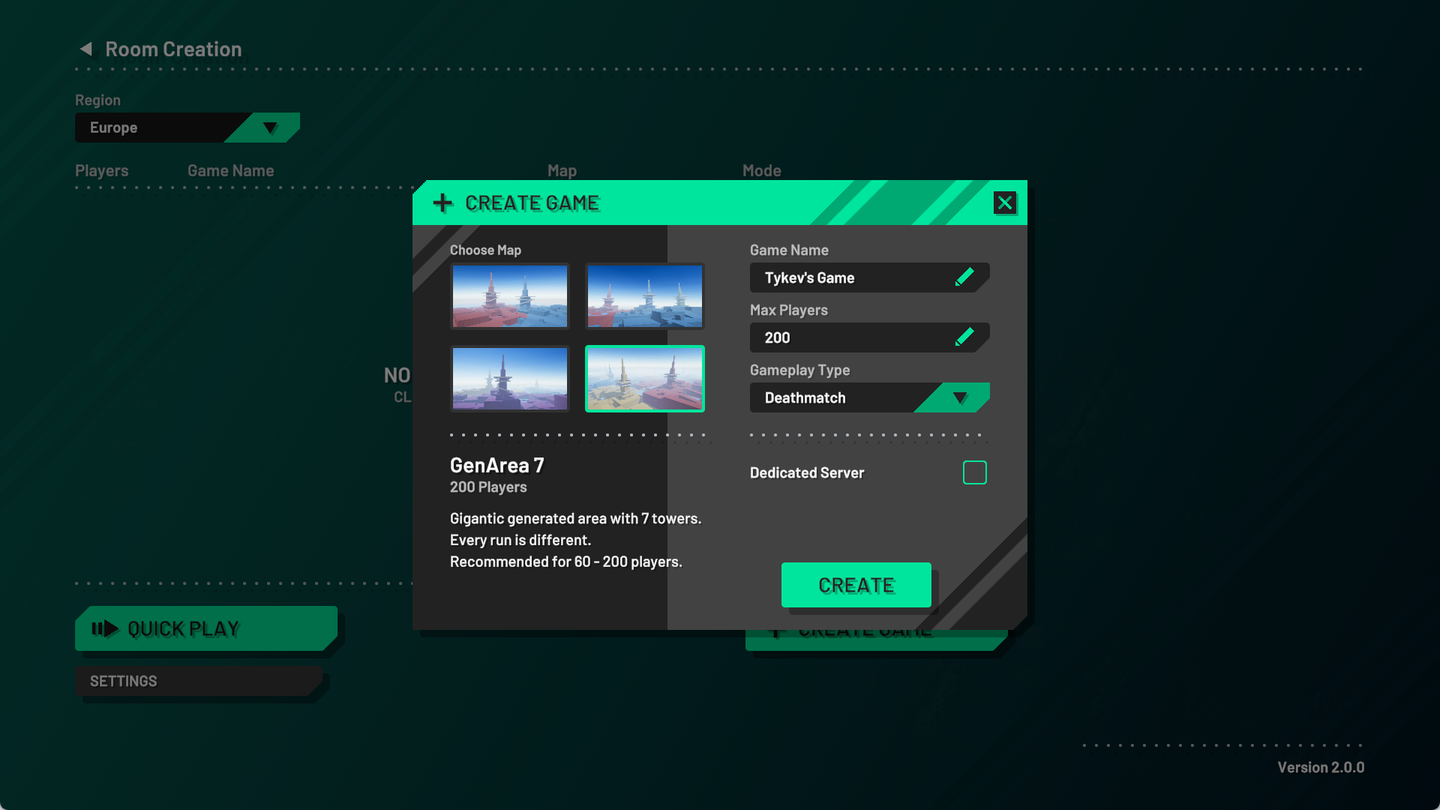
Join an existing game from the session list or create a new one by hitting the Create Game button.
Gameplay Debug Start
You can play any gameplay scene directly. The Standalone Manager GameObject in the scene determines the type of game started. Standalone Manager values can be changed to run the game in a preferred configuration.
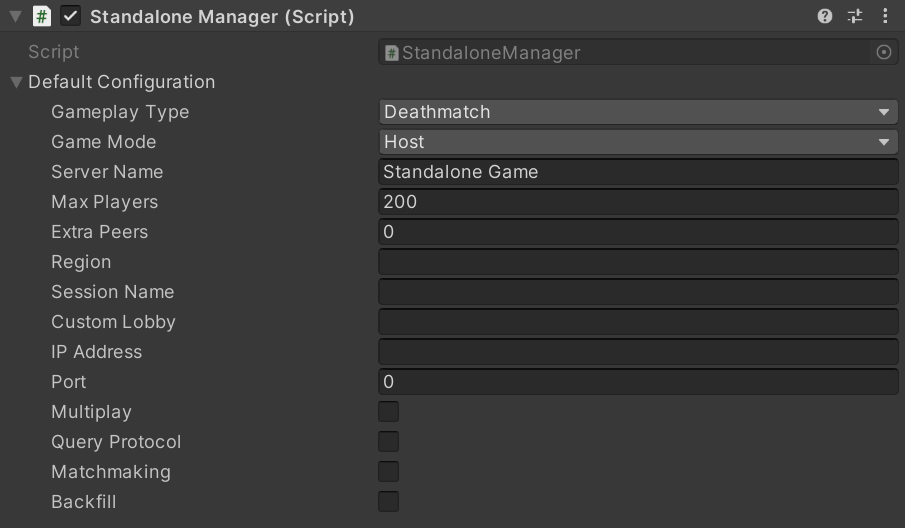
To start the game with multiple players in a single editor check the Multipeer Mode section.
Controls
| Key | Action |
|---|---|
| W,S,A,D | Move |
| SPACE | Jump / Thrust with jetpack |
| 1,2,3 | Switch weapons |
| 4 | Cycle grenades |
| Q | Fast weapon switch |
| F | Interact / Drop weapon (hold) |
| X | Toggle jetpack |
| E | Toggle camera side |
| Left Mouse Button | Fire |
| Right Mouse Button | Aim |
| Enter | Lock/unlock cursor (Editor) |
| Ctrl + Enter | Lock/unlock cursor (Build) |
Running The Server
You can start BR200 from the command line as a headless server instance.
Command Line Arguments
| Argument | Description |
|---|---|
| -host | Starts host |
| -dedicatedServer | Starts dedicated server |
| -client | Starts client(s) |
| -deathmatch | Starts deathmatch gameplay mode (valid for server/host only) |
| -elimination | Starts elimination gameplay mode (valid for server/host only) |
| -battleRoyale | Starts battle royale gameplay mode (valid for server/host only) |
| -region [STRING] | Custom Photon region (optional), eu/us/usw/... |
| -extraPeers [INT] | Additional clients started within same process |
| -serverName [STRING] | Custom server name shown in game list |
| -maxPlayers [INT] | Max players allowed to join the game |
| -sessionName [STRING] | Custom session identifier |
| -lobby [STRING] | Custom matchmaking lobby name |
| -scene [STRING] | Which scene should be loaded (GenArea2|GenArea3|GenArea5|GenArea7) |
| -stripped | Enables extra runtime optimizations to maximize batch client count handled by single process |
| -ip | Custom IP address the server binds to |
| -port | Custom port the server binds to |
| -fps [INT] | Sets Application.targetFrameRate to a given value |
| -moderator | Starts the game with moderator rights (can control creating game and moderating in public builds) |
| -dataPath | Custom output directory path |
| -recordSession | Record logs and performance stats for current session |
| -generateInput | Generates random input, used only in combination with -stripped |
| -deviceID [STRING] | Custom device identifier the player data is stored under |
| -randomDeviceID | Generates a random device identifier on every start, useful when running multiple client builds on a single machine |
Examples of local headless server command line arguments:
BR200.exe -batchmode -nographics -dedicatedServer -logFile DeathmatchServer.txt -deathmatch -maxPlayers 60 -scene GenArea3
BR200.exe -batchmode -nographics -dedicatedServer -logFile BattleRoyaleServer.txt -battleRoyale -maxPlayers 200 -scene GenArea7
Project Structure
Assets
| Path | Description |
|---|---|
| 3rdParty/ | Third-party assets |
| Photon/ | Fusion libraries and addons |
| TPSBR/ | Sample specific files, scripts and derived assets |
| Extras.zip | Additional tools for profiling |
Scenes
| Scene | Description |
|---|---|
| Loader | Initial scene, minimalistic (fast to load), checking command line arguments, loads to menu or a specific gameplay scene |
| Menu | Default menu scene |
| LoadingScene | Scene with a loading screen to fade between menu and gameplay scenes |
| Game | Small static testing scene for debugging and feature iterations |
| GameplayUI | Scene with separate gameplay UI, loaded additively |
| GenArea2 | Small map for 20 players, generated at runtime |
| GenArea3 | Medium map for 60 players, generated at runtime |
| GenArea5 | Large map for 120 players, generated at runtime |
| GenArea7 | Very large map for 200 players, generated at runtime |
The difference between GenArea2 - GenArea7 is only in level generation values set up on the NetworkGame object.